I had been craving waffles for quite a while. So, I have finally gotten around to making a Low Sodium Crispy Waffles just like a good old style breakfast diner.
Waffles were a usual start for my day back when I used to manage machine installations around the country. All my jobs seemingly had me having to get up at 4 a.m. and order at the local joint for a breakfast meal of “Waffle, sausage or bacon, egg sunny side up and coffee”. I usually got a wink from the waitress – but ya know how that goes.
Fast forward to now and I need a low sodium alternative…which is why we are all here.
Cooking your waffles may often seem to take forever. But definitely they’re worth a bit of time. What I often do is set up the waffle iron next to me on the bar counter and read a good book along with a little timer. If pancakes are your thing, check out my Low Sodium Buttermilk Pancakes or French Toast!
Otherwise, I clean the kitchen which is what I should be doing anyway. The never ending chore!

How much sodium in a waffle?
| Typical sodium amount per serving | Up to 840mg |
| Sodium per serving for this recipe | 49mg |
| Calories per serving | 262 |
Any one of these waffles alternatives would put me way over my per meal sodium goal limit. Ouch! Fortunately, my low sodium crispy waffles are only 49mg of sodium each. Saving you hundreds of sodium milligrams from your diet.
– Ihop 840mg – Waffle House 870mg sodium (from website nutritional values.)
– Store bought waffle mix 490-580mg sodium
– Most Recipes average 350mg of sodium
Most recipes and restaurants include salt, regular baking powder, and baking soda, obviously all very high in sodium.
Be Careful of Sodium Levels in Syrup
Many off the shelf store bought syrups vary widely in the amount of sodium they contain. Many regular name brands can be quite high at 120mg+ per ¼ cup.
Instead, look for natural syrup, for instance, Log Cabin Natural Syrup is just 20mg per ¼ cup. Honey and some fruit syrups and jams also make for some delicious no sodium alternatives.
Make Awesome Low Sodium Crispy Waffles!
The Waffle Batter Ingredients:
All-purpose flour – is my flour of choice for this recipe. I am sure you can use other ones but I like to keep it simple.
Cornstarch – is my secret ingredient for making crispy waffles. Mixed with flour, cornstarch helps prevent gluten development, which makes the flour coating crispier. This guarantees that they will be perfectly crisp on the outside and fluffy tender on the inside.
Hain No Sodium Baking Powder: This will help the waffles rise light and brown.
*An optional ripened banana – replaces the refined granulated sugar and provides tons of flavors. It’s almost a shame to put any syrup on your waffle.
Milk, eggs and oil are the liquid half of this recipe. You can use any regular milk or non-dairy milk that you would like. I use the 2% milk for mine.
As for the oil, I use the standard vegetable or canola oil here.
Two large eggs add tenderness and provide structure to the waffle. I like to use two eggs to “bulk” up the waffle.
Mixing waffles all together: Making these waffles is super simple.
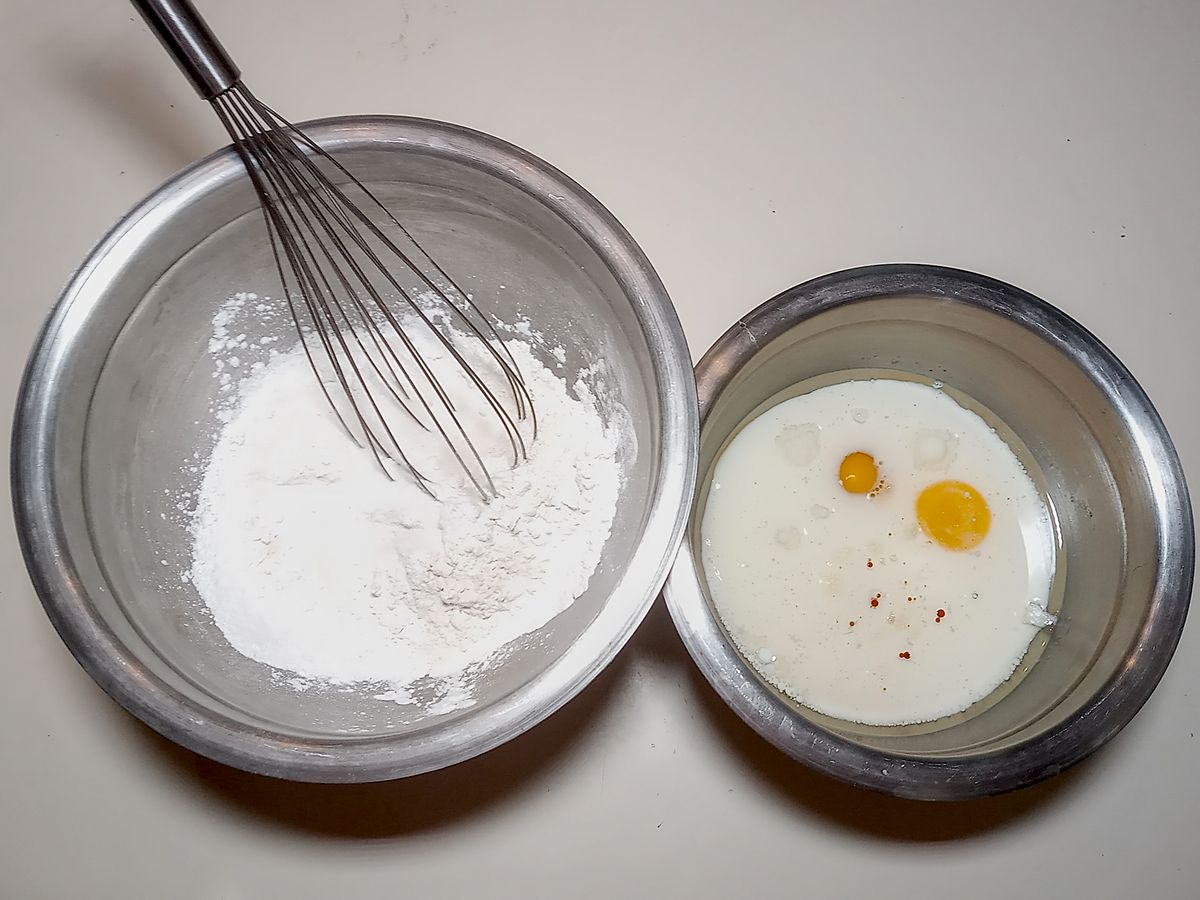
Whisk the dry ingredients of flour, cornstarch, baking powder and sugar so it’s nice and fluffy, just takes a few seconds.
Whisk the wet ingredients together in another bowl with either a hand whisk or your immersion blender with the whisk attachment, like an omelet.
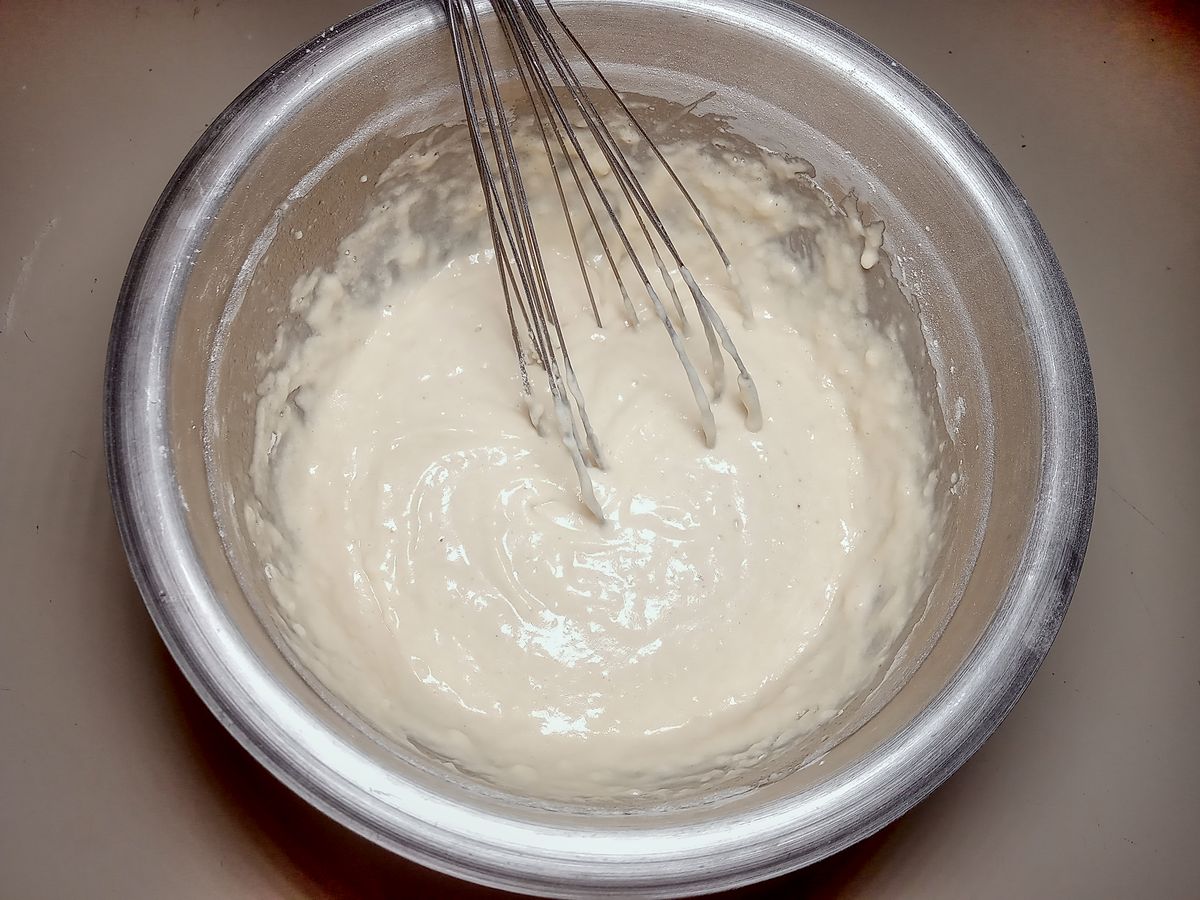
Mix the wet into the dry ingredients. Whisk well, scraping the sides and bottom. If you see a few stray small lumps of flour left, don’t sweat it.
Let the batter sit for 10 or 15 minutes. During this time, you can preheat your oven if cooking waffles to eat at the same time. Get your waffle iron nice and hot too!
The batter rest time allows the baking powder to activate.
Cooking the waffles:
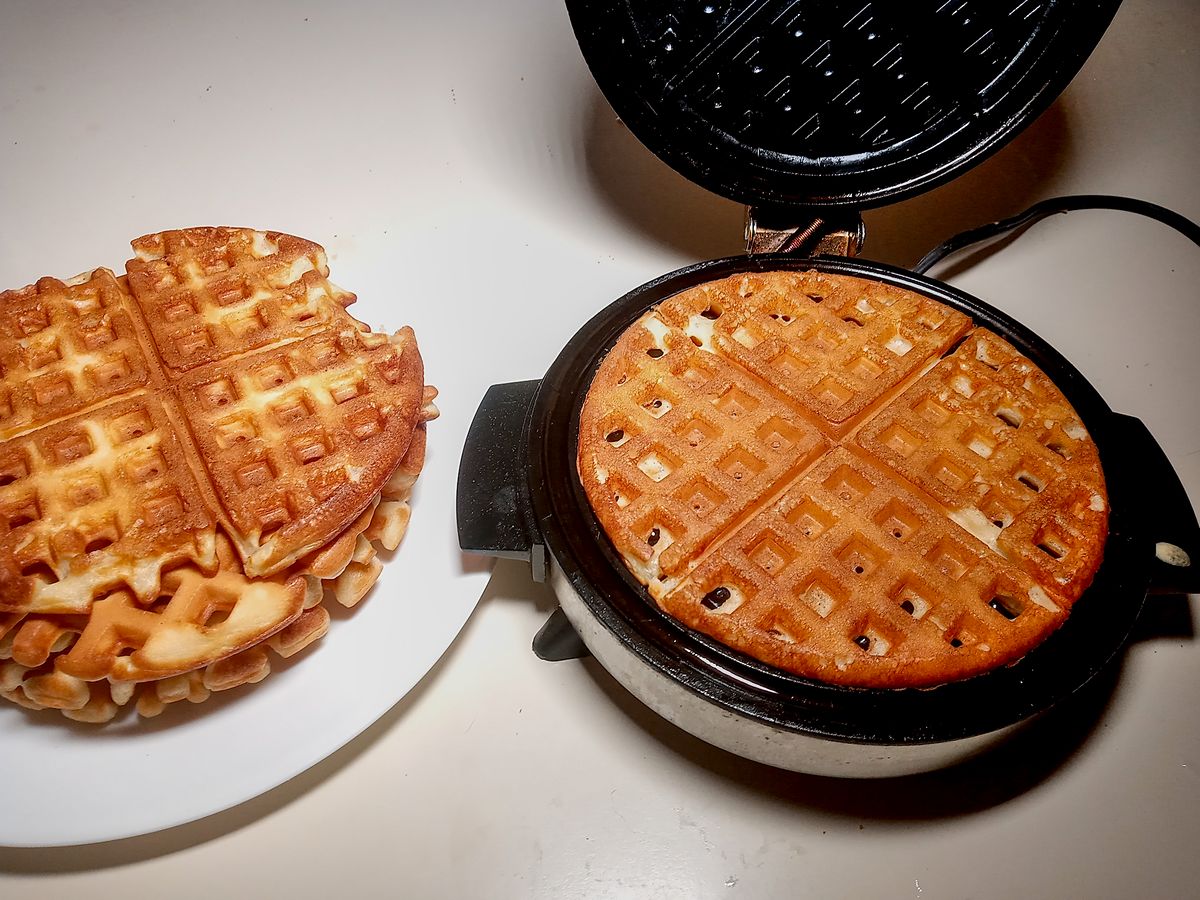
I use about 1/2 cup of batter for each waffle, I use my ladle and it comes out perfect. But, the amount of batter will depend on your waffle iron.
Transfer cooked waffles (if eating for a big breakfast) to your warm 200°F oven so they stay warm and crisp.
If you stack your waffles, they steam under each other and they lose their crispiness. Don’t have limp waffles!
The time in the oven will add even more crispiness to the waffle while keeping them warm for serving.

Bill’s Best Waffle Tips
Have a timer when cooking, cell phone, egg timer, whatever. My waffles take about 6 ½ minutes to cook to perfection. You can clean the kitchen or read a book while waiting.
I usually spray a quick spritz of cooking oil on the waffle iron for the first one. Waffles seem to be fine and not stick after that.
Don’t overwork the batter. A few lumps of flour are fine unlike hand made mixed spices where a lump can surprise you. A flour lump is fine.
Your first waffle may not turn out well. I don’t know why it is, but it always seems to happen. Enter my four legged boy Ash, he doesn’t seem to care.

A few of my other great dishes to enjoy!
Recommended Equipment & Ingredients For This Recipe.
See my whole Recommended Equipment & Ingredients shop page here
This section contains affiliate links to products I use and recommend.
Please let me know how your Low Sodium Crispy Waffles turns out for you in the comments and a rating! I’m always eager for your feedback and hope my recipes turn out amazing for you. You can follow me on Facebook and Pinterest also, to hear about new recipes.
Low Sodium Crispy Waffles
Ingredients
- 1 cup all purpose flour
- 1/4 cup cornstarch
- 3 teaspoon Hain’s Featherweight baking powder sodium free
- 1 tablespoon sugar
- 1 1/4 cup 2% milk
- 1/3 cup vegetable or canola oil
- 2 large eggs
- 1 teaspoon vanilla extract
- Butter no salt added (optional topping)
- (low sodium) syrup – fruit preserves or jam, to serve. (topping options)
Preparation
Preparing the batter
- Whisk to combine the flour, cornstarch, no sodium baking powder and sugar in a medium bowl.
- Using another bowl whisk the milk, vegetable oil, eggs and vanilla together until well blended like an omelet.
- Pour the wet ingredients into the dry mixture and whisk until just mixed. Some lumps are ok. Let batter sit for 10 to 15 minutes so the baking powder has time to activate.
Cooking the waffles
- If eating a large batch at once, heat the oven to 200° F to hold cooked waffles until serving. Stacked waffles on a counter plate will steam and get “soggy”.
- Heat the waffle iron for about five minutes.
- Pour the batter onto the heated waffle iron (mine takes about 1/2 cup or one ladle full) and cook (my waffle iron takes about 6 ½ minutes) until the waffle is golden brown and crisp.
- Immediately repeat with the remaining batter, quickly set the cooked waffle directly on the oven rack to keep it warm and crisp.
- Serve with Butter, (low sodium) syrup, fruit preserves or jam.
I use, own and recommend these products and ingredients used in this recipe and I may earn commissions from qualifying purchases.
Nutrition
The information shown is an estimate provided by an online nutrition calculator. It should not be considered a substitute for a professional nutritionist’s advice. Please understand that not everyone’s sodium and dietary requirements are the same, therefore some recipes may be higher than you’re allowed.
https://tastyhealthyheartrecipes.com/main-dishes/breakfast/low-sodium-crispy-waffles/© 2025 Tasty Healthy Heart Recipes
Nutrition Information – The information shown is provided by an online nutrition calculator. It should not be substituted for a doctor’s or nutritionist’s advice. Please understand that not everyone’s sodium requirements are the same, therefore some recipes may be higher than you’re allowed. Always consult with your doctor for your recommended daily sodium allowance.
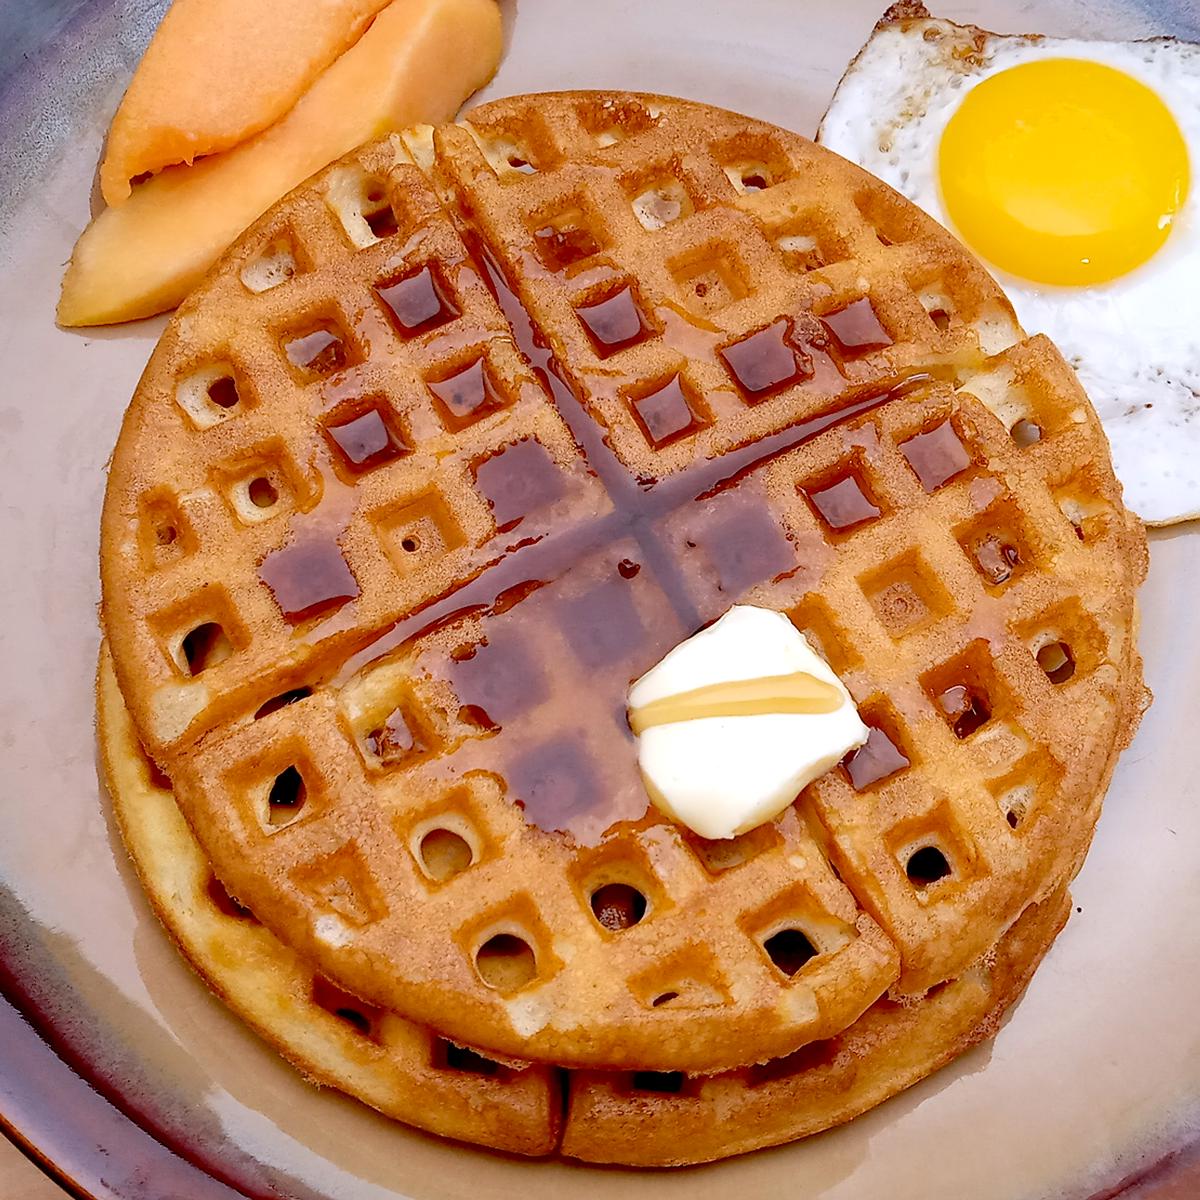


I made the waffles for the first time this AM. I used my mini waffle maker, as I will be using them for some breakfast sandwiches. I also. ate one with butter and sugar free syrup, and another with marscopone cheese. Both were good, but I liked cute first one better. I will be using them to make sandwiches for.lunch also. Thank you for this super recipe!
Thanks so much Janet! Glad you enjoyed.