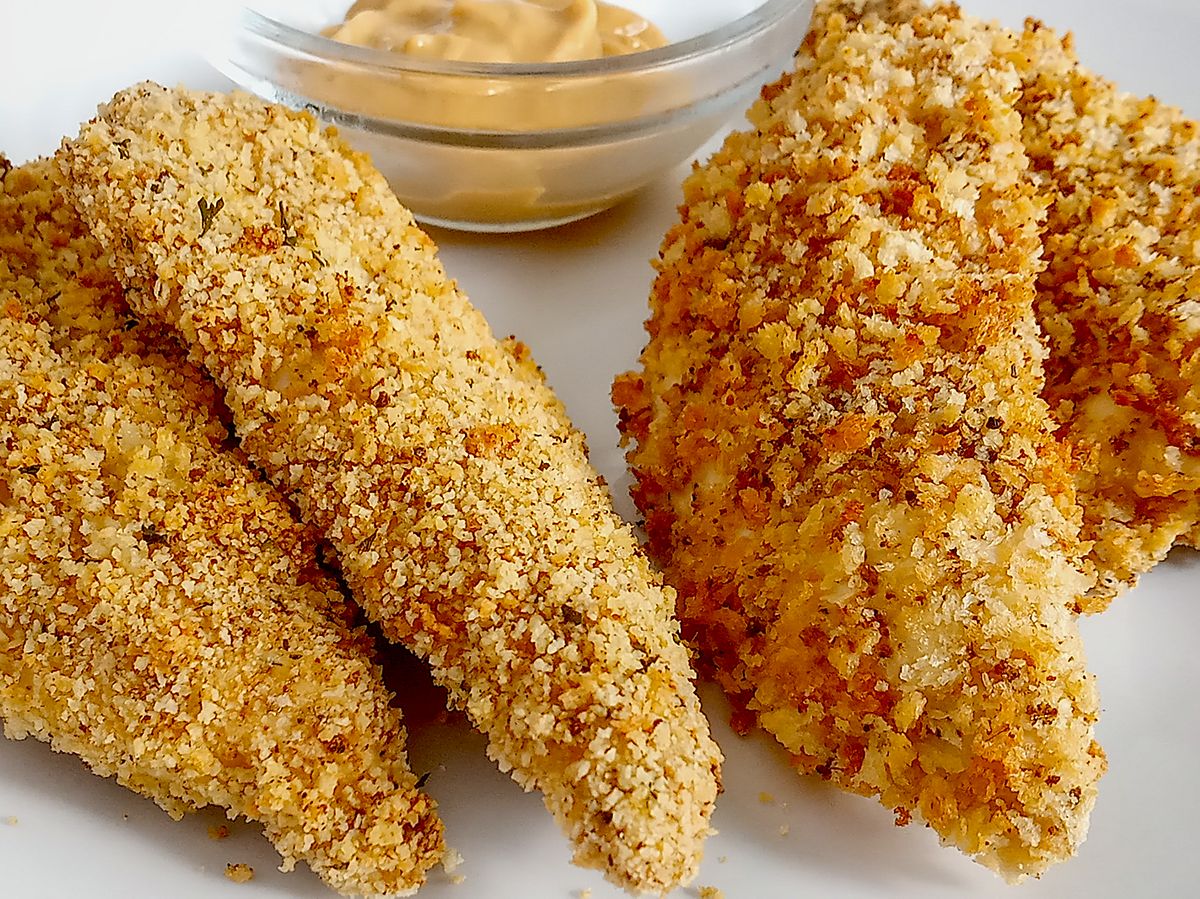
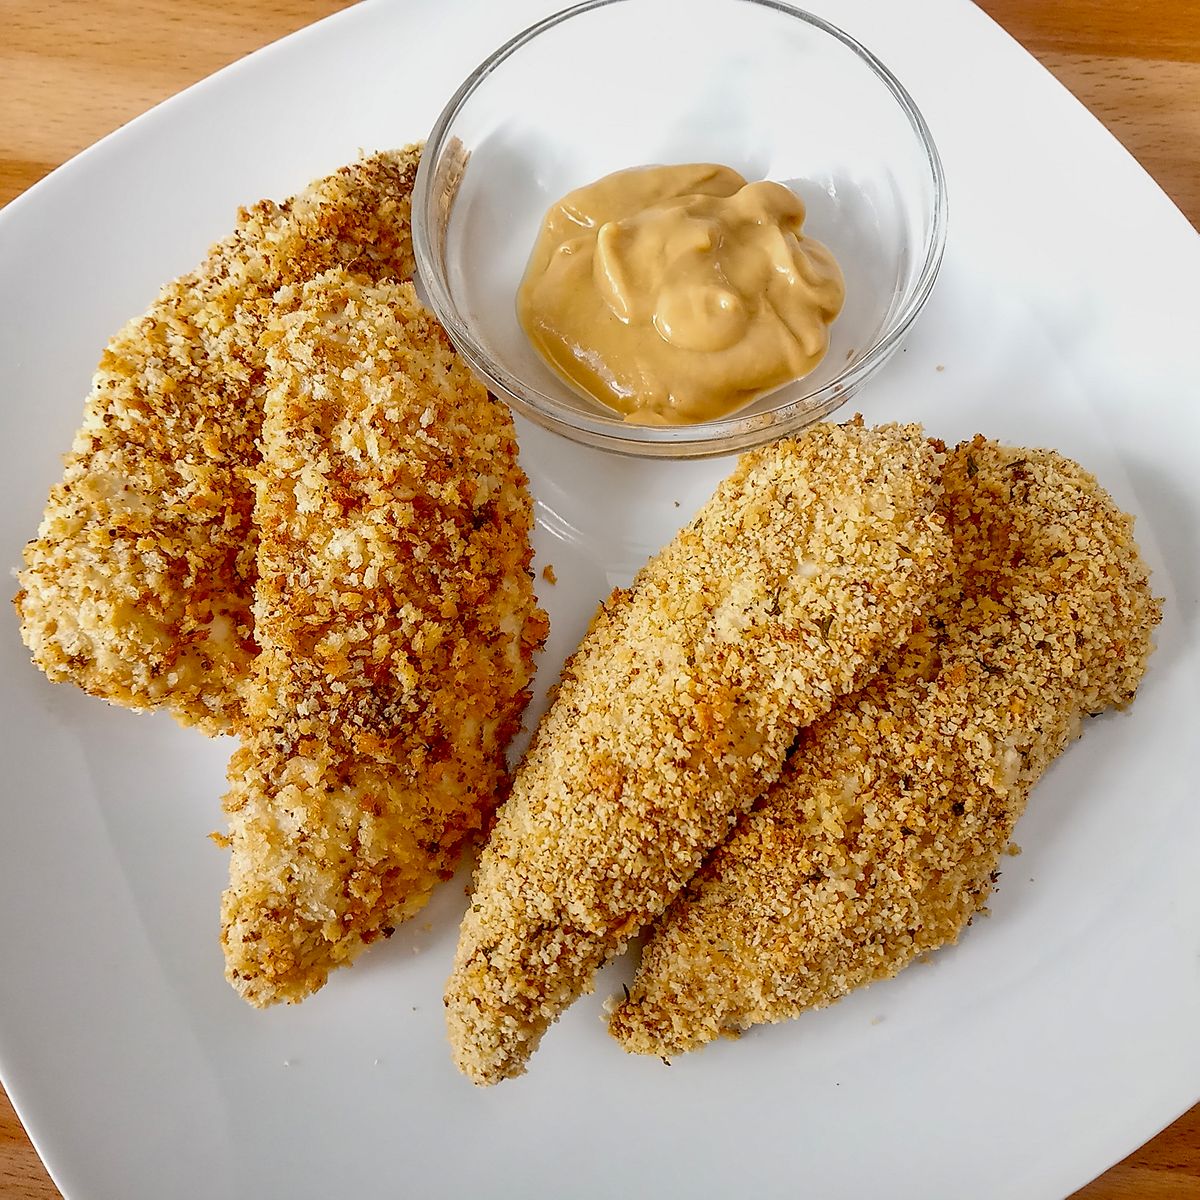
These crunchy low sodium baked chicken tenders are not only much lower in sodium but also low in fat. I’m not going to try and kid you and say they are just like a deep fried tender. Still, I was very happy with the crunchy, tender result from breading and baking.
With just a few easy hints this recipe reduces much of the mess of dredging, breading and deep frying making an extra crispy oven-baked tender! I tested three methods of breading and two of them using low sodium brands, to make the tastiest, crunchiest baked tender. See my reviews and thoughts below.
Sodium in various deep fried chicken tenders.
| Typical sodium amount per serving | 480+mg |
| Sodium per serving for this recipe | 57mg |
| Calories per serving | 113 |
Checking the pre-packaged frozen chicken strips, I saw levels that ranged anywhere from 480mg up to 600mg of sodium per strip.
The famous name brand chicken joint listed 320 to 460mg of sodium depending on which flavor you choose.
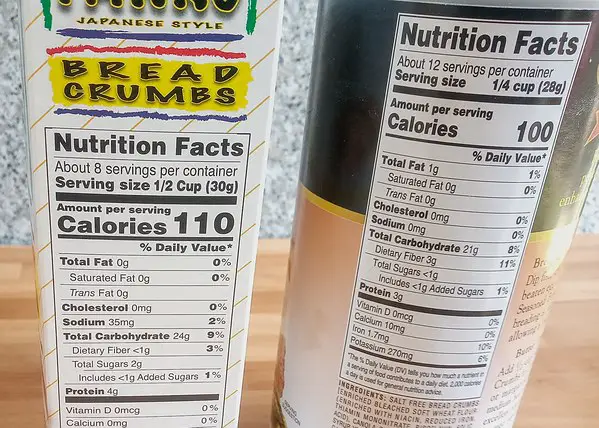
You may be surprised that about 90% of the sodium in my tenders comes from the chicken itself. Altogether, these low sodium crispy oven baked chicken tenders only have 57mg of sodium per tender when using the recommended Panko bread crumbs. You can even get below 50mg by using the 4C breadcrumbs.
Comparing the fat savings for this recipe is difficult for me to calculate so let’s suffice to say there would be an obvious significant savings.
My breading or flour coatings for chicken tenders review
I tested baking my low sodium chicken tenders three different ways for this recipe.
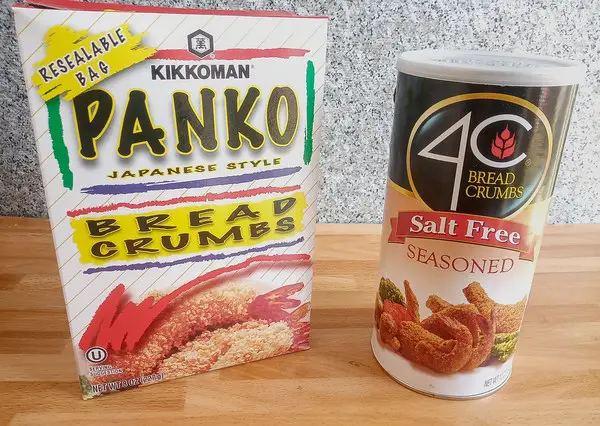
First, I tried using the traditional flour coating, attempting to recreate a deep fried tender. Then I tested baking by using two different low sodium breading coatings, Panko Breadcrumbs and 4C Seasoned Breadcrumbs No Sodium. (Tasting was tested with no dip.)
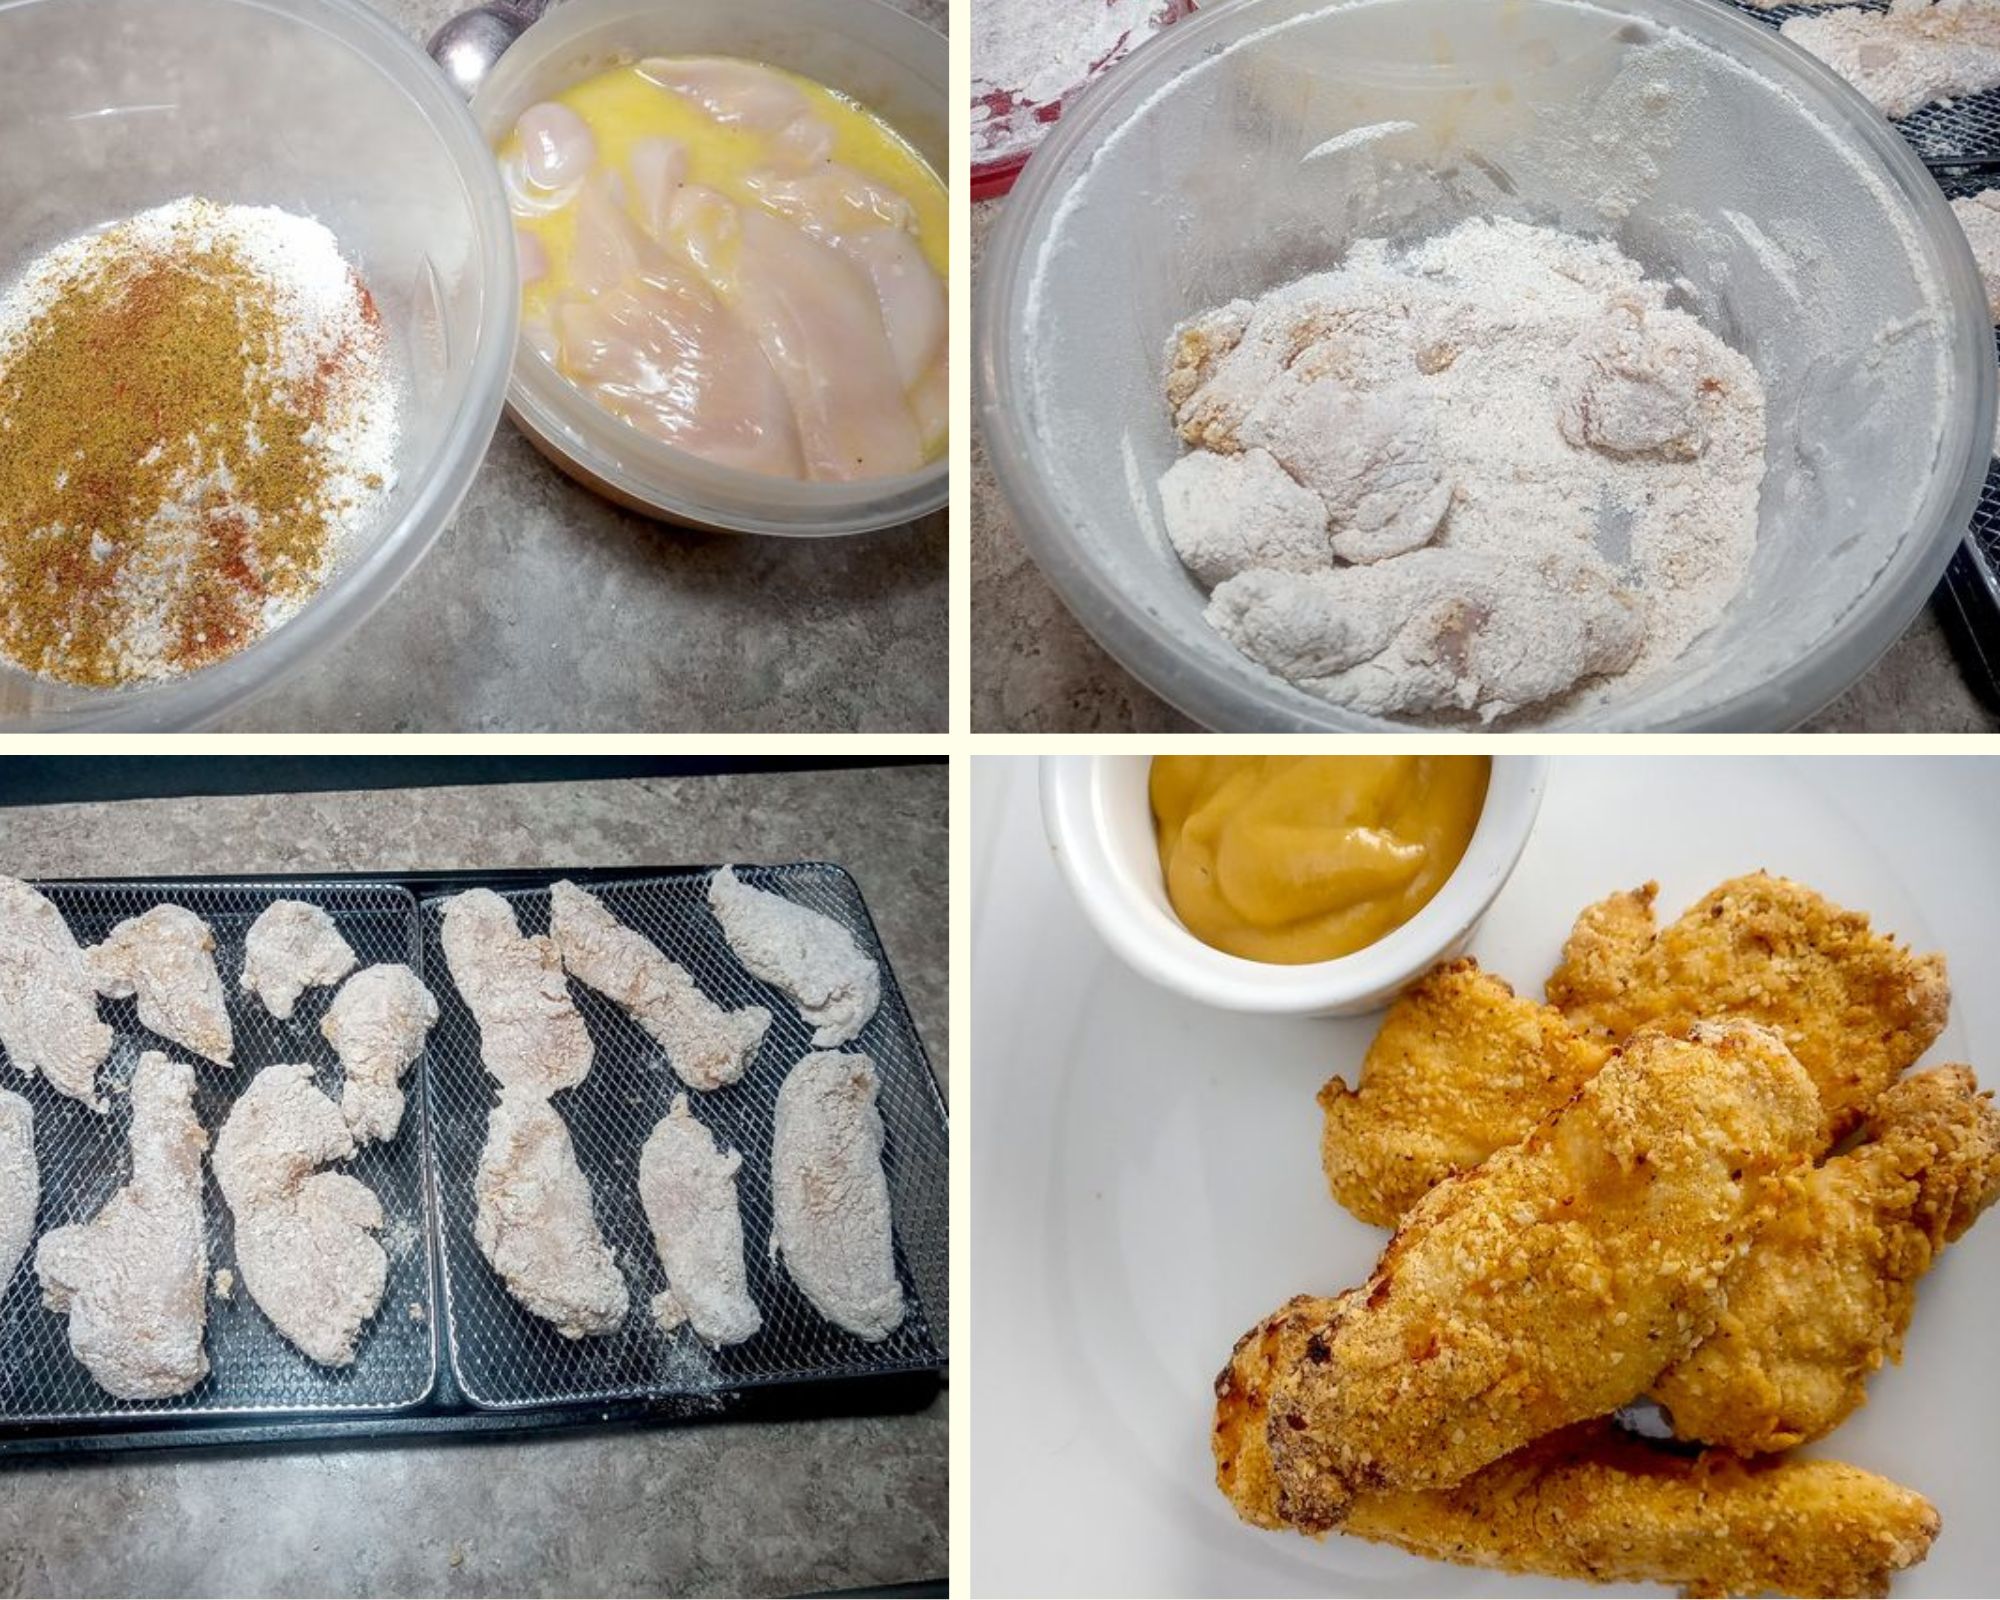
My Results:
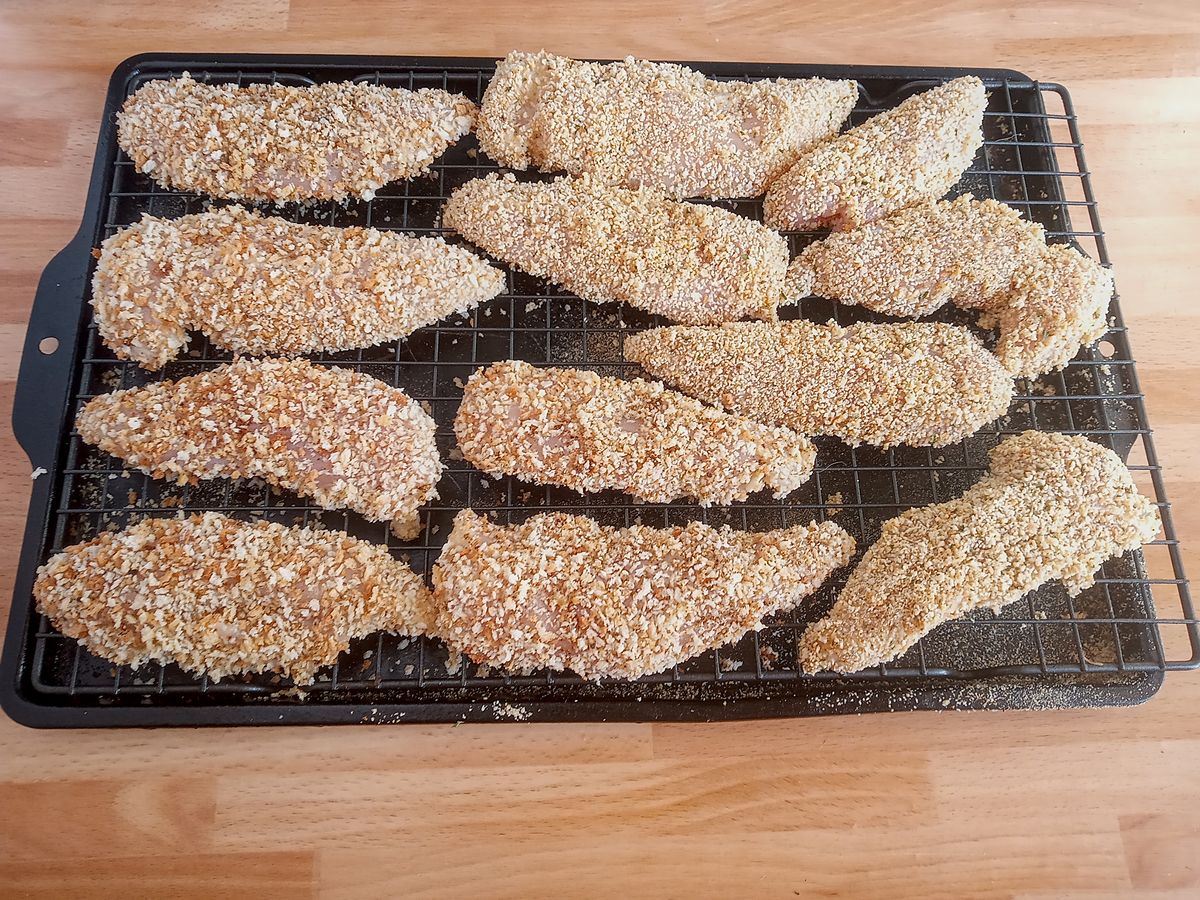
Traditional flour coated test: Even though the pictures may look great, I found this method to be very disappointing in taste. They just had a very uncooked flour taste after baking in either the oven or the air fryer. I also had to use much more spray oil just to get it to brown up without any floury white spots. Tenders tasted nothing like deep fried, not crunchy and the flour taste covered up any spice flavor.
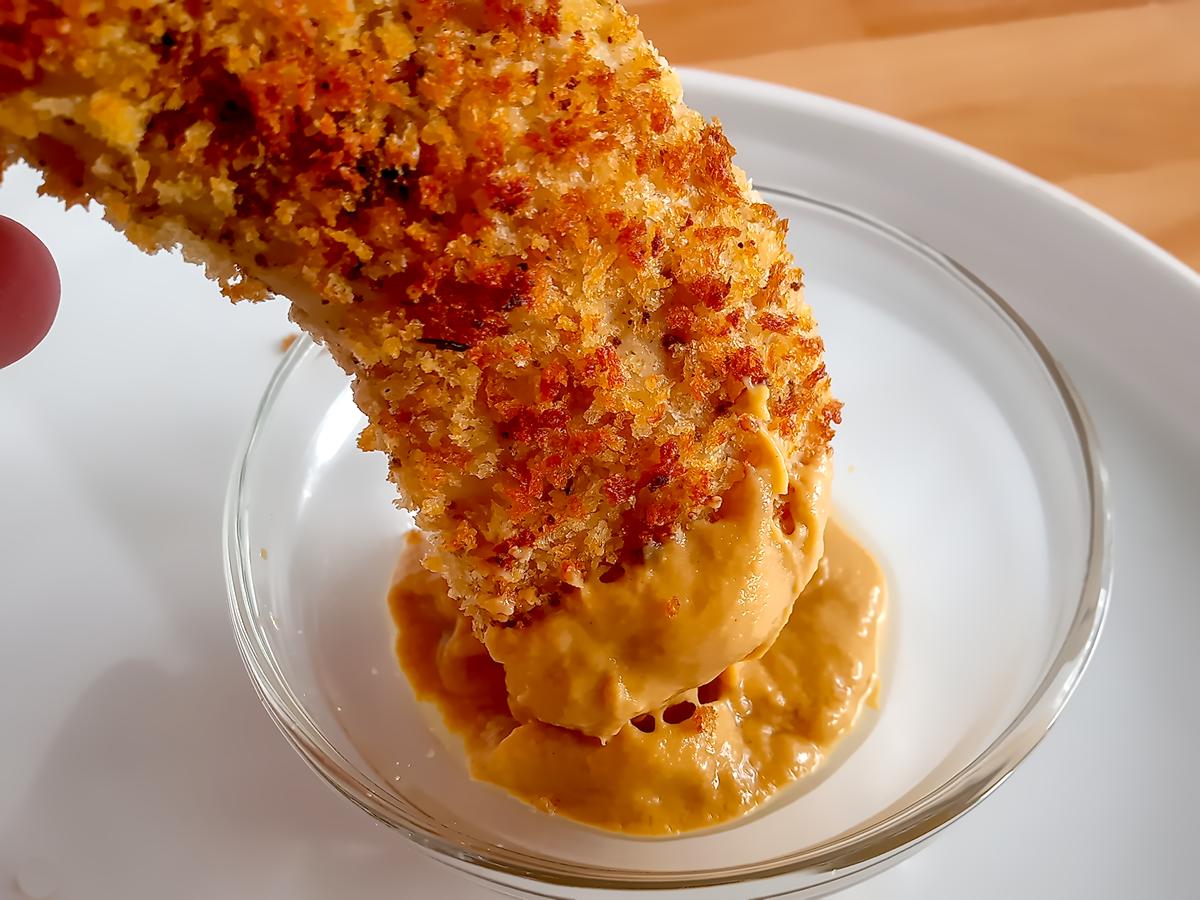
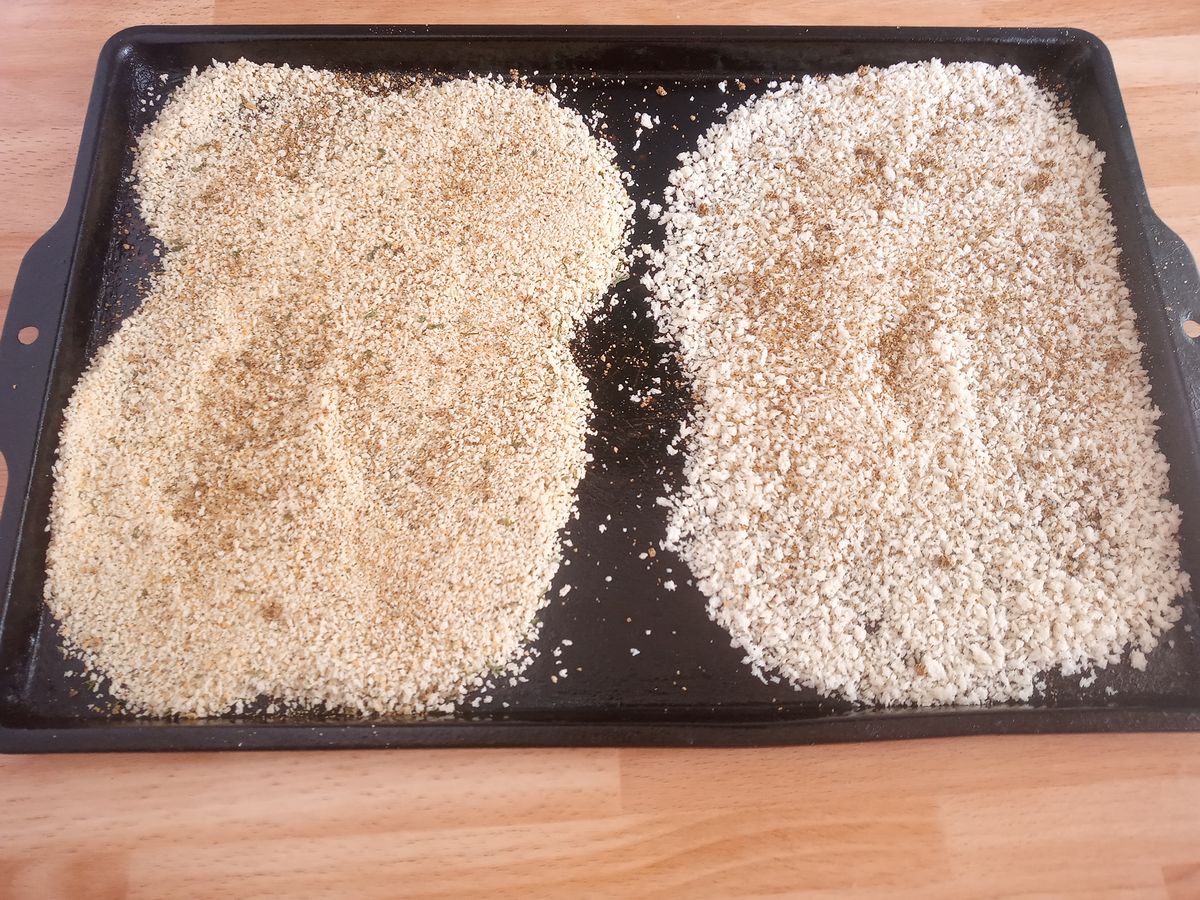
4C Seasoned Salt Free Breadcumbs: Has a medium crunch. After quickly pre-toasting in the oven, 4C crumbs had a much better crunch factor and flavor then the flour method. Though still pretty bland from the container for being “seasoned”, it is easily remedied by adding your own favorite spices.
I have not been able to find these in my local stores yet. Because I don’t do a lot of breading anyway, I just get them on Amazon since they store well.
Kikkoman Japanese Style Breadcrumbs: Excellent crunch! The Japanese style breadcrumbs are enormous compared to regular store bought breadcrumbs. Because they are big, they will soak up a ton of moisture from the batter. Without pre-toasting, they will take too long to crisp and brown up without overcooking the chicken.
These crumbs have a bit more sodium than the 4C but only add 9mg per tender. They taste pretty bland coming straight from the box though that is easily fixed with your own no sodium spices.
I used the Panko crumbs in the recipe and is reflected in the nutritional values.
Additional thoughts:
● I added minimal seasoning to either one of these chicken tenders with the 4C breadcrumbs or the Panko breading, in deference to the masses. Though, when I’m cooking again, I will be sure to add an even more robust spice blend for myself.
Maybe I’ll try some Tony Chachere’s Creole No Salt Seasoning or some paprika with the listed spices. You can always use your own favorite no sodium spice blend. You still won’t need much if using a dipping sauce.
● The key to a crunchy, golden baked breaded tender is to toast the breadcrumbs in the oven first. They seem to soak up a lot of moisture in the batter and never really crisp up when cooking the chicken otherwise.
● Also, baking the chicken at a high temperature (400°F) ensures you keep the crunch you want and still keep the meat nice and tender.
How to make crunchy low sodium baked chicken tenders
Preheat the oven to 400°F and prepare batter and chicken.
Make the batter and breading – When making traditional batter, the usual process for breading is flour then egg then breadcrumbs and really sticky fingers.
Start by toasting the breadcrumbs of choice in the oven for just two to three minutes. Move to a separate breading plate or bowl.
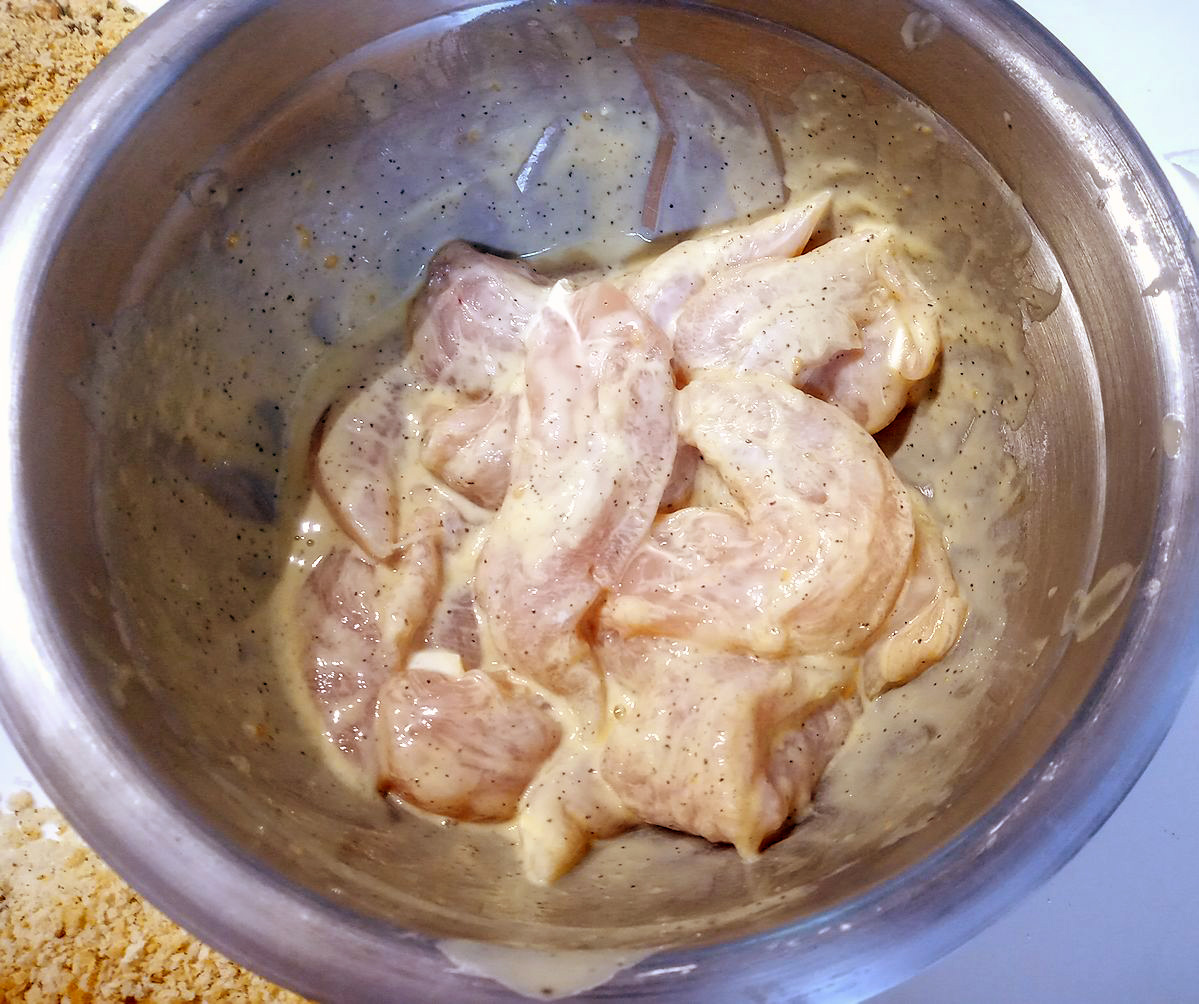
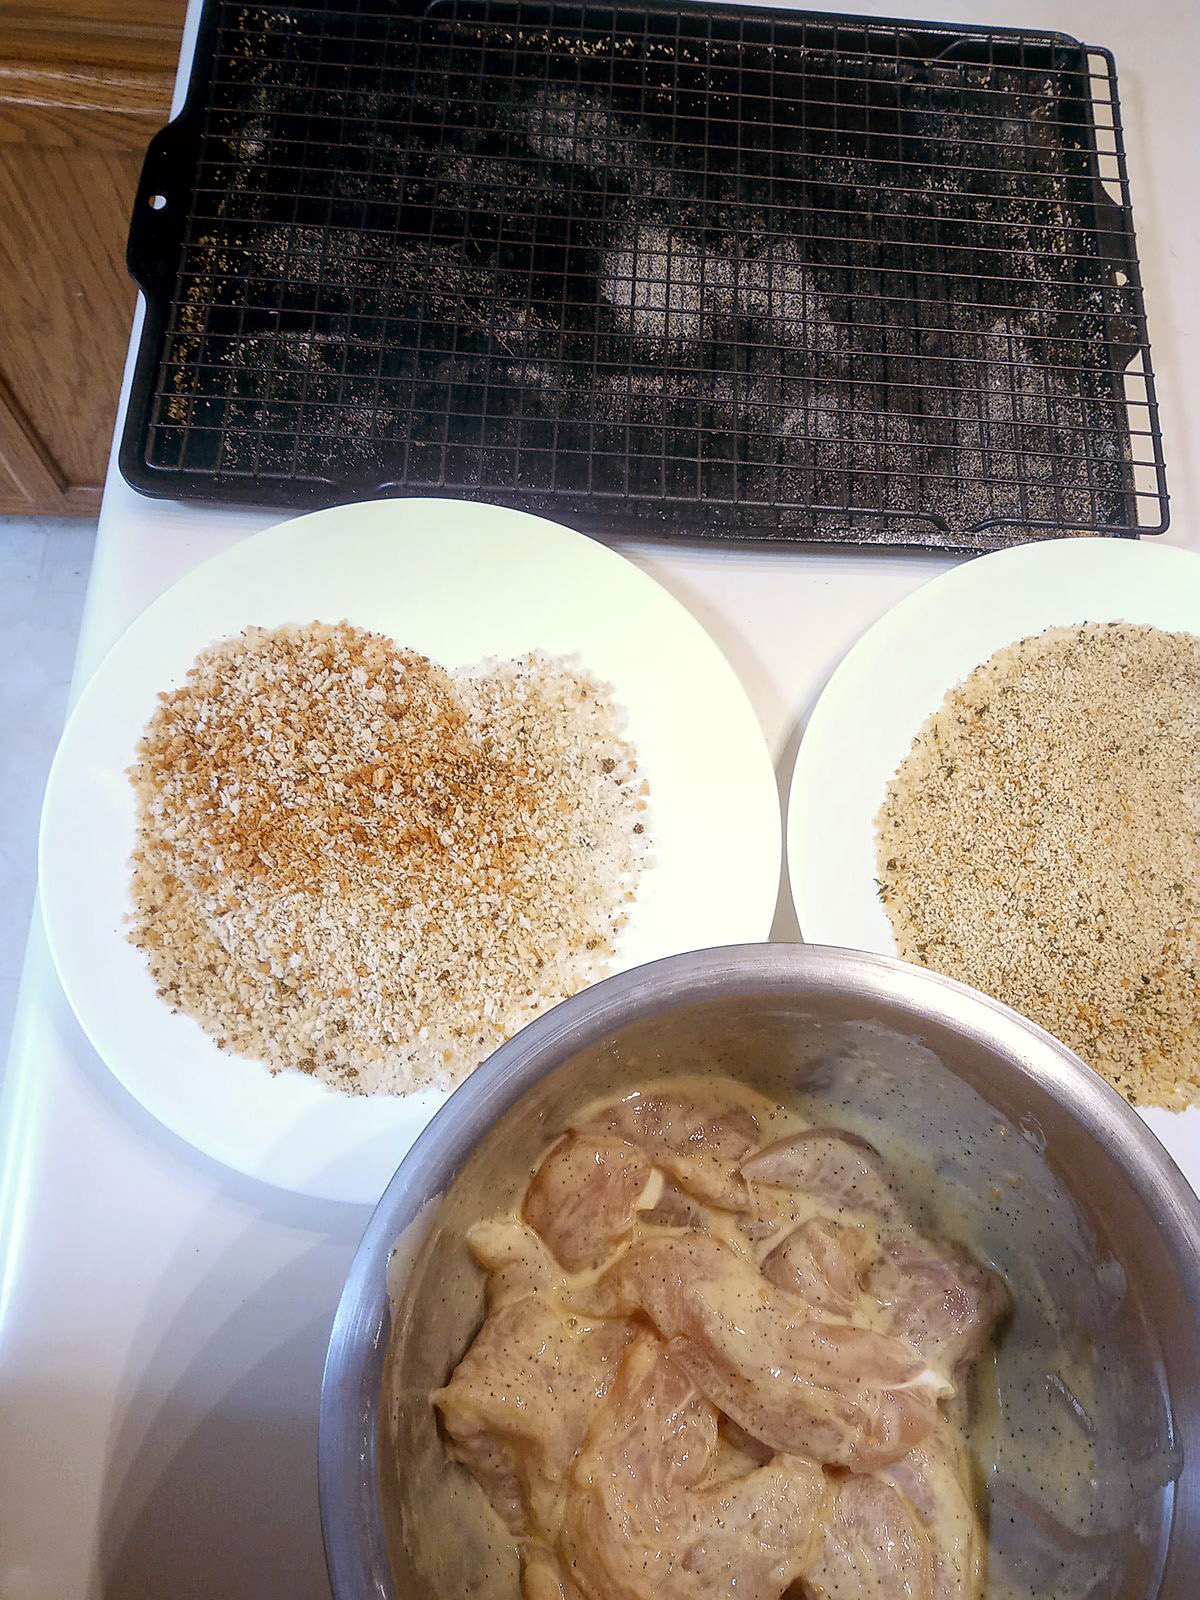
For this easy batter recipe, I whisk the egg with 2 Tbsp. flour plus ground mustard, Low Sodium Mayo or Greek yogurt and spices for flavor. This makes a thick batter in which the chicken is marinated / dredged. It’s like super glue for breadcrumbs!
Then, using tongs or a fork, transfer a batter slathered chicken piece into the breadcrumbs. Sprinkle breadcrumbs to cover and press down to adhere. Transfer to baking rack. All with no goopy fingers!
Bake your Low Sodium Chicken Tenders in oven or air fryer
Chicken tenders tend to be rather thin and small and they won’t take long to bake. Keep an eye on them (the first time), so you don’t overcook them!
Baking tenders in the Oven: Give tenders a light cooking oil spray and bake at 400°F for 20 minutes. I like to place tenders on a baking rack that is placed on a baking pan thus eliminating the need to flip them. Bake for 15 minutes and check temperature to be 165°F for finished temp (note time when done). Chicken will dry out, so be sure not to overcook!
Air Fryer Directions: Cook tenders in a single layer at 390°F for 12-15 minutes or just until cooked through. The second batch will probably be a minute or two less since the air fryer will be preheated.
Each oven and air fryer is different, so be sure to check the final internal cooked temperature. I like using the oven with a big baking sheet cooking them all at once.
Serve and best tasting when eaten immediately.
Storing and reheating tenders
Store tenders in an airtight container with a paper towel on the bottom and over chicken. This will hold any excess moisture and help keep tenders crunchy when reheating. Keep in fridge 3 to 4 days.
To keep the best crunch, the best way to reheat is to blast in the oven (or air fryer) for 3 – 5 minutes at 400°F until warmed through inside. You can also microwave 1 to 1 ½ minutes, though they won’t be as crunchy.
Need a low sodium chicken tender dip?
I like to eat these with homemade fries or you could serve them with mashed potatoes, corn or fresh cut tomatoes. But you definitely need to have an awesome dipping sauce!
Homemade Low Sodium Barbecue Sauce
Low Sodium Ranch Dressing
My Low Sodium Sweet and Sour Sauce
Honey mustard sauce is usually fairly low sodium
A few of my other great dishes to enjoy!
Recommended Equipment & Ingredients For This Recipe.
See my whole Recommended Equipment & Ingredients shop page here
This section contains affiliate links to products I use and recommend.
Please let me know how this Low Sodium Baked Chicken Tenders turns out for you in the comments and a rating! I’m always eager for your feedback and hope my recipes turn out amazing for you. You can follow me on Facebook and Pinterest also, to hear about new recipes.
Low Sodium Baked Chicken Tenders
Ingredients
Chicken:
- 2 lb chicken tenderloins or breasts (for breasts cut into 1” thick slices, diagonal towards lengthwise. See note #1)
Breadcrumbs:
- 1 1/2 cups Panko Japanese Style breadcrumbs
- Oil spray
Batter:
- 1 large egg (whisked)
- 1 tablespoon Greek yogurt or my Low Sodium Mayonnaise
- 2 teaspoons ground yellow mustard
- 2 tablespoons all purpose flour
- 2 teaspoon Mrs. Dash Original Table Blend seasoning no salt
- black pepper, ground
Preparation
- Preheat oven to 400F.
- Spread panko or breadcrumbs on a baking tray, spray lightly with oil, then bake for 2 to 4 minutes until light golden color forms. Transfer to bowl or large plate.
- Place a baking rack on the same baking tray. Rack is not required but no flipping of the tenders should be required.
- Measure the batter ingredients into a medium mixing bowl and whisk until well combined.
- Add chicken into the batter and toss until well coated.
- Place chicken one at a time into the breading bowl or plate. Cover well with breadcrumbs, pressing down to really stick them on.
- Transfer onto baking rack – baking tray. Repeat coating with remaining chicken.
- Spray lightly with oil. Bake 15 – 20 minutes.
- Remove from oven and serve with a low sodium sauce of your choice.
Notes ______________________________________________
I use, own and recommend these products and ingredients used in this recipe and I may earn commissions from qualifying purchases.
Nutrition
The information shown is an estimate provided by an online nutrition calculator. It should not be considered a substitute for a professional nutritionist’s advice. Please understand that not everyone’s sodium and dietary requirements are the same, therefore some recipes may be higher than you’re allowed.
https://tastyhealthyheartrecipes.com/main-dishes/entrees/low-sodium-baked-chicken-tenders/© 2025 Tasty Healthy Heart Recipes
Nutrition Information – The information shown is provided by an online nutrition calculator. It should not be substituted for a doctor’s or nutritionist’s advice. Please understand that not everyone’s sodium requirements are the same, therefore some recipes may be higher than you’re allowed. Always consult with your doctor for your recommended daily sodium allowance.

Tried this tonight. Very flavorful and crispy good! Looking forward to leftovers tomorrow! Thanks for another great recipe!
Thanks Jennifer!
These were delicious!! Thank you for the recipe! We drizzled a little Mike’s hot honey (it has no sodium) on the tenders & it complimented them well! We are already looking forward to the leftovers.
Awesome. Thank you Cindy.
I have a bag of frozen tenders that says do not defrost. Can I use the frozen tenders for this recipe?
No, I don’t think they would work well with this recipe.