
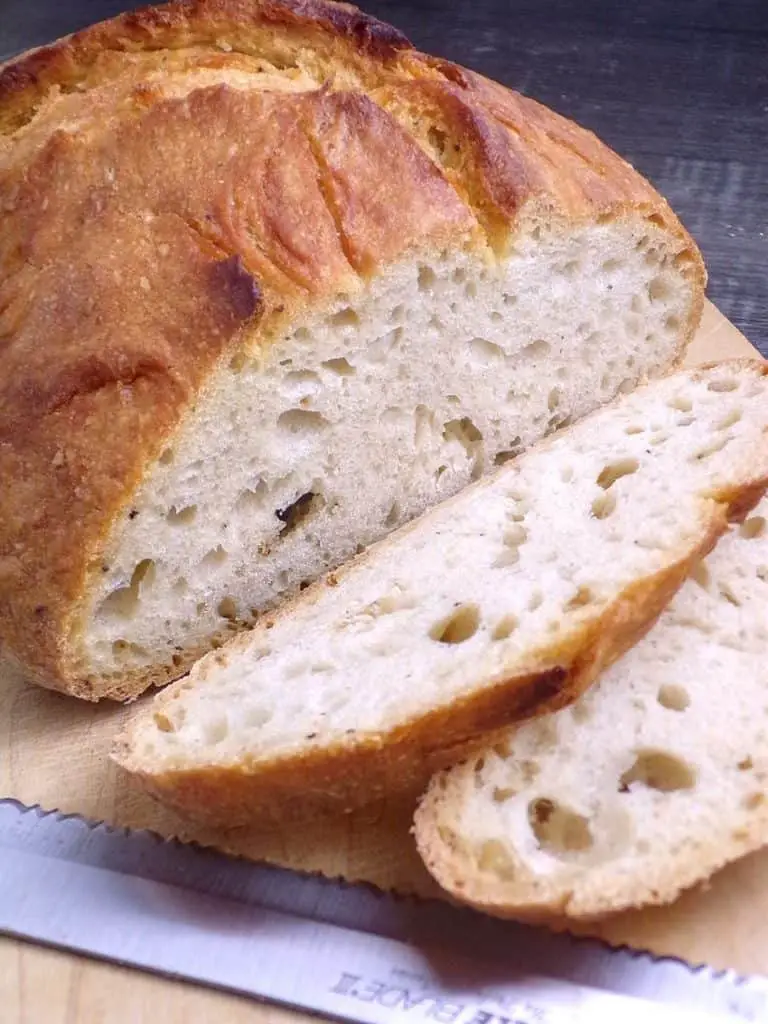
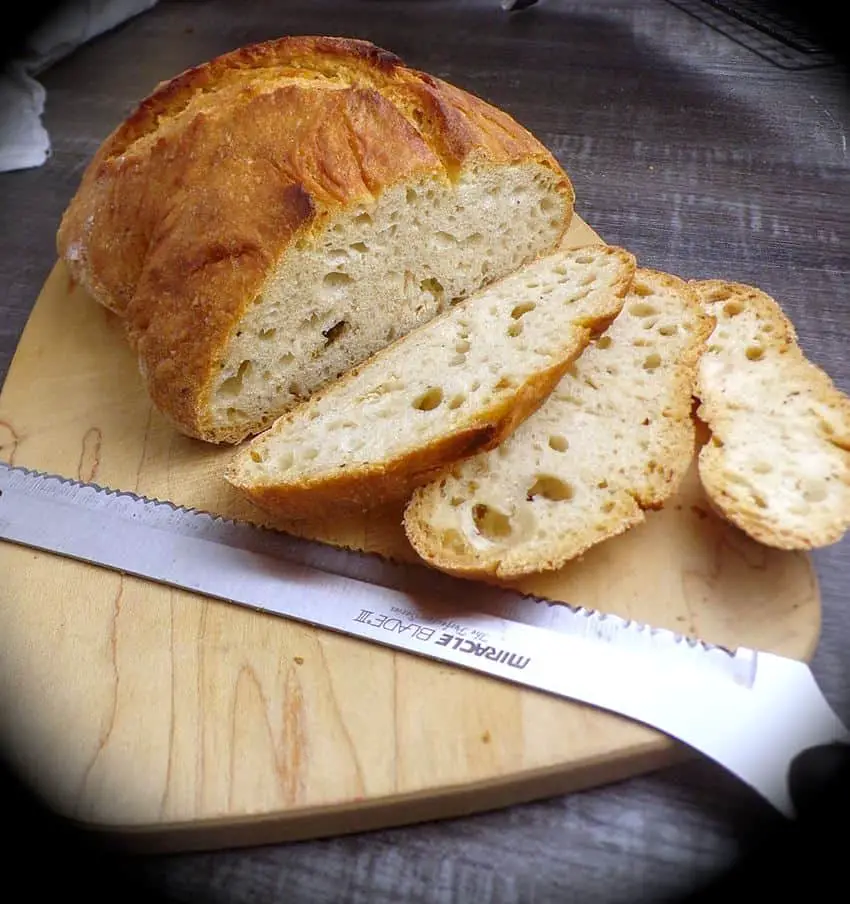
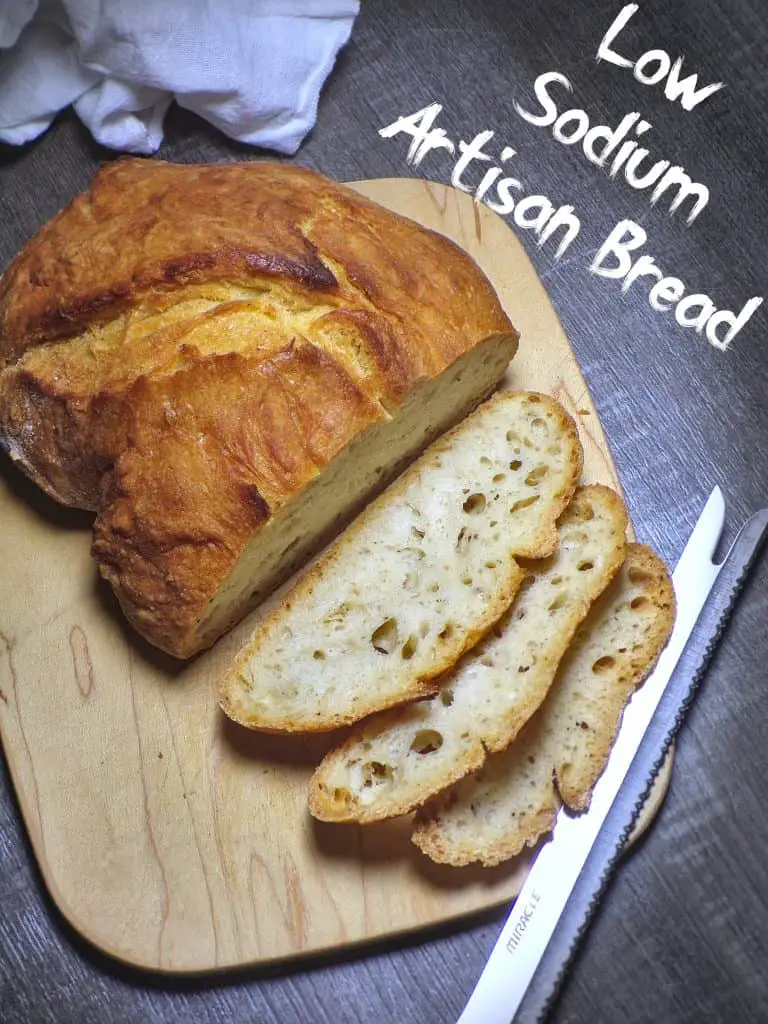
Low Sodium Artisan Bread is the way to go when you need a good hearty bread to make appetizer plates or something that will sop up a good savory stew or gravy dish. I usually make my standard bread in a bread machine. While this makes good sandwich bread, once in a while you need something a little more robust but still low sodium. That’s where an easy no-knead artisan bread steps in that is still low sodium.
The dough literally only takes 5-10 minutes to mix up but needs 8 to 24 hours to rise. I usually make it the night before I plan on baking it and it works out perfect with no worries. If you must use it after just eight hours, you should see lots of bubbles on the surface though this dough may not rise as much as you would think.
How Much Sodium is in Artisan Bread?
| Typical sodium amount per serving | 350 mg per cup? |
| Sodium per serving for this recipe | 3 mg per large slice |
| Calories per serving | 142 |
The sodium level in purchased artisan bread is really hard to nail down. Store-bought bread that I’ve looked at is 350mg of sodium per cup. Really, a cup of bread? How are we supposed to evaluate that? Let us just say it is extremely high.
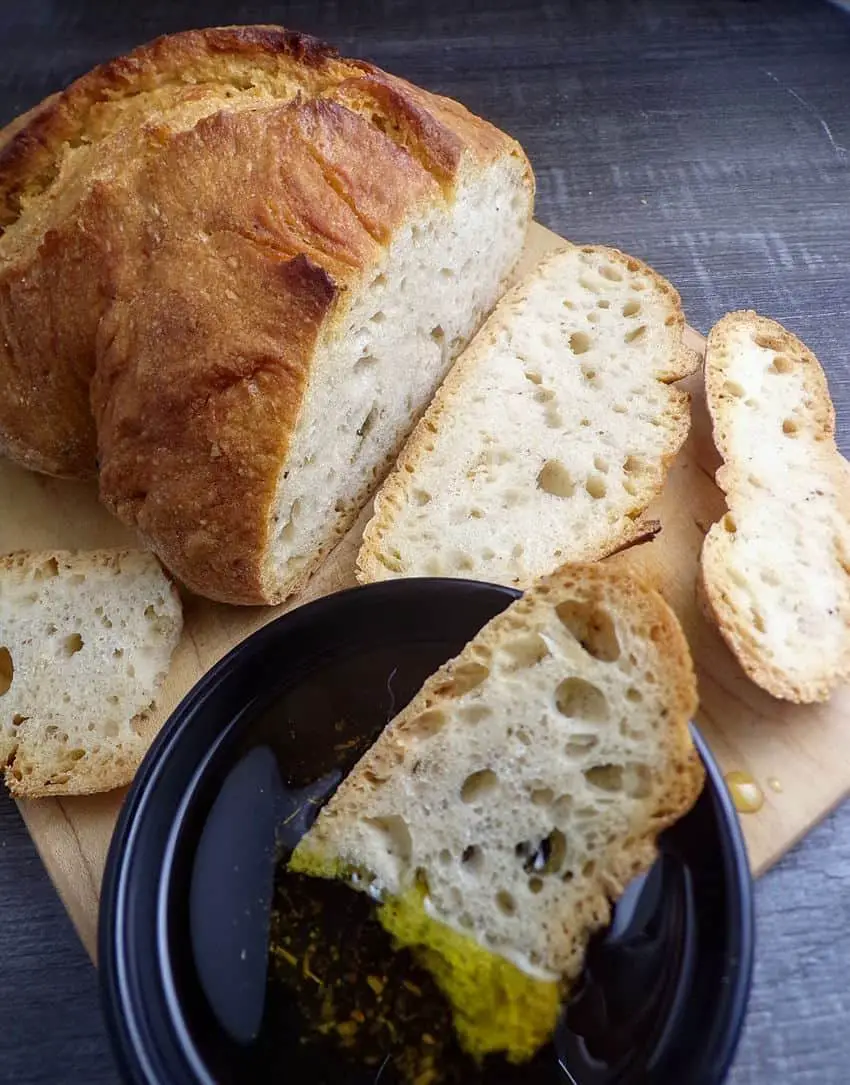
But not to worry about this Low Sodium Artisan Bread! It makes about an 8” round loaf so you can easily get 10 large slices at just 3mg per slice. And I’m being very generous and conservative here I think. This should leave plenty of room in your budget to add other flavorings if you desire.
How To Serve and Use Your Artisan Bread
This bread is pretty plain by itself and is best used while still a bit warm with an olive oil dip or whatever appetizer addition you plan on using with it. It is also great to use right away or later with a stew or any gravy sopping dish that good hearty bread is needed to take the abuse of being drenched in savory gravy.
The bread tends to harden up in a day or so and should be placed in a Ziploc bag and stored in the fridge. It does not do too well sitting on the counter for too long.
But if you have leftovers and it does start to harden up – don’t throw it away! Put it in a heavy-duty freezer bag and keep it in the freezer. You can later thaw and cube it up for a stuffing mix. I often make this bread just for cubed stuffing as the store-bought is so high in sodium. Or it also makes the best bread crumbles for meatloaf, just give it a few pulses in a food processor and mix into your meatloaf.
Is Plastic Wrap Required When Letting Dough Rise?
The short answer is no, plastic wrap is not required, but it should be covered. The main reason dough is covered during the rising stage is to avoid a dry crust from forming on the exposed surface. If not covered, the dough can dry out over the time required for it to rise. This crusting can cause overly hard chunks during baking, but can also actually slow expansion during the final proof.
People have used towels over the bowl for hundreds of years so it seems like it should work just fine. I wouldn’t let it actually touch the dough though as I would think then it would actually wick away some of the moisture. Plus nowadays most dough is given a surface covering of oil that helps prevent moisture from escaping.
I hate using plastic wrap to cover a large bowl. I don’t like the waste and I can never get it to stick well. What I usually do is just use an old plastic grocery bag over the top. Or recently I have a couple of clear shower caps, from the dollar store that I place over bowls that need to be covered. The caps work excellent as they have an elastic edge that holds them in place and is easy to store.
No Knead Low Sodium Artisan Bread Flavor Variations
I’ve made the garlic and rosemary before along with caraway seed that was very good, but here are some other ideas too:
- Garlic and Rosemary
- Jalapeno
- Caraway Seed
- Sunflower, & Poppy Seeds
- Sesame Seed
- Sun-dried Tomato with chopped Basil
- Lemon Zest and Thyme
- And many others!
Bonus! – How to Make Low Sodium Stuffing or Croutons?
Update: I now have a full recipe for croutons you can see here Low Sodium Croutons Garlic & Herb.
Once you’ve made homemade croutons or stuffing, there may be no going back. You shouldn’t be anyway on a low sodium regimen as both are super high in sodium. Besides those teeny tiny little cubes, you get in bag stuffing are so boring, right?
Just take this quick crouton recipe with the further steps to make stuffing and you’ll be all set. Keep an eye out for my low sodium stuffing recipe upcoming in the future. I made my first low sodium stuffing with this bread and it was the best I have ever had anywhere, anytime and I really think the bread made the difference, despite the low sodium. Here are the basics:
- Preheat the oven to 375°F. Rough cut the bead into cube size of choice.
- Most recipes say to drizzle olive oil in, but I don’t like the coverage doing that. Some cubes get too much, some don’t get any. I like to use a mister filled with olive oil and mist them all while slowly stirring. Then sprinkle in garlic powder, Mrs. Dash Table Blend, and Italian herb spices to taste while mixing.
- Spread the cubes in an even layer on a large sheet pan. Bake for 10 minutes, or until golden brown and crisp. If you just baked the bread, it will take a little longer to become golden brown. But if the bread is older and dry, it should brown faster. Always keep an eye on it!
[su_box title=”A few other great dishes to enjoy!” box_color=”#a92224″]
- This bread makes excellent Low Sodium Croutons
- Some bread to sop up the gravy
- Low Sodium Cornbread with Honey
- Homemade Low Sodium Naan Flatbread
- Other savory meals
- A savory Low Sodium Beef Stew
- Low Sodium Meatballs and Gravy
- Savory Low Sodium Beef Tips and Gravy
[/su_box]
As always, please let me know how you like this recipe in the comments! I get motivated when I hear from you and am interested to learn about how you liked and served your Low Sodium Artisan Bread. And please leave a comment or rating and share any tips you might have.
Low Sodium Artisan Bread
Ingredients
- 3 cups all-purpose flour (or bread flour)
- 3 tsp Hain’s Featherweight baking powder sodium free
- 1 tsp vital wheat gluten
- 2 tsp Mrs. Dash Original Table Blend seasoning no salt
- 2 teaspoon dry yeast either active dry or highly active dry
- 1 1/2 cups warm water
Preparation
- In a large bowl, whisk all the dry ingredients together. Stir in water until the mixture forms a shaggy but cohesive dough. Do not over-work the dough. The less you “work” it, the more little air pockets will form.
- Turn dough ball coating outside in olive oil and cover bowl with towel or grocery bag.
- Let dough sit at room temperature for anywhere from 8-24 hours. Dough should have bubbles visible and rise a bit. This does not seem to really rise that much so don’t expect it to “double”.
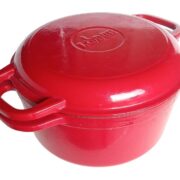
- When you decide the dough is ready, preheat oven to 450 degrees F. Put your Dutch oven, uncovered, (I put the lid on the shelf below) into the preheated oven for at least 30 minutes.
- As your Dutch oven preheats, turn dough onto a floured surface and with floured hands, form the dough into a uniform ball. Cover dough with previous bowl cover to keep moist and let rest as oven heats.
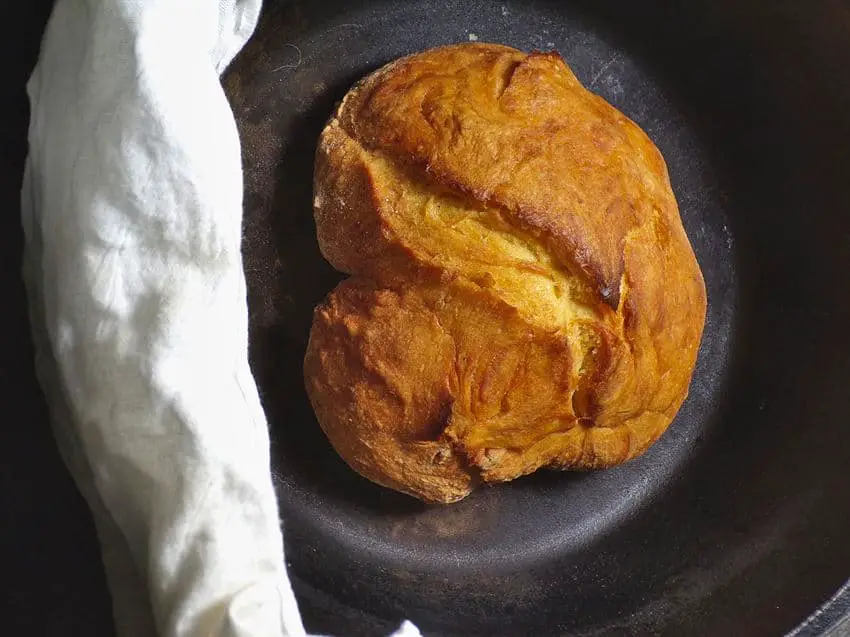
- After the 30 minutes are up, carefully remove Dutch oven. With floured hands, place the bread dough into it and cover. (I just slide rack out with pot and place dough in.)
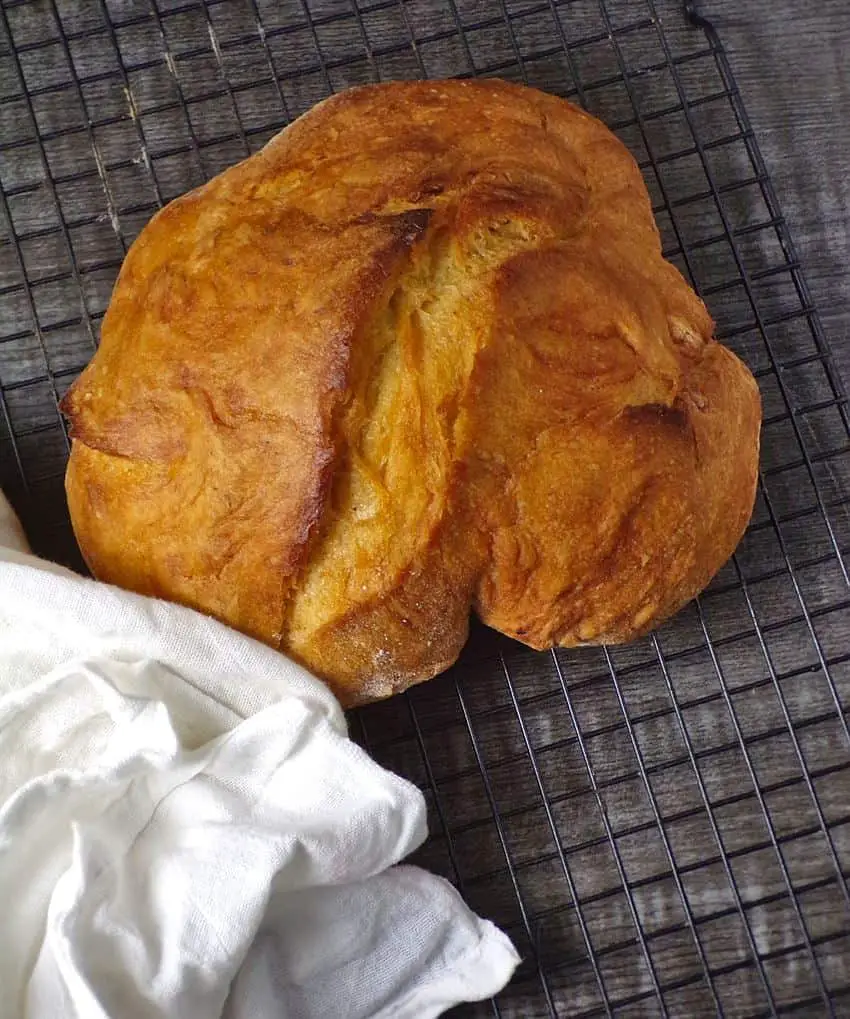
- Bake for 30 minutes covered. Carefully remove cover and bake for about 5-10 minutes more, uncovered. Ovens are different so keep your eye on it for your desired golden brown.
- Remove bread to a cutting board and slice as needed with a bread knife.
Notes ______________________________________________
Utensils & special ingredients used
I use, own and recommend these products and ingredients used in this recipe and I may earn commissions from qualifying purchases.
Nutrition
The information shown is an estimate provided by an online nutrition calculator. It should not be considered a substitute for a professional nutritionist’s advice. Please understand that not everyone’s sodium and dietary requirements are the same, therefore some recipes may be higher than you’re allowed.
https://tastyhealthyheartrecipes.com/a-la-cart/baking/low-sodium-artisan-bread-and-no-knead/© 2025 Tasty Healthy Heart Recipes

Nutrition Information – The information shown is provided by an online nutrition calculator. It should not be substituted for a doctor’s or nutritionist’s advice. Please understand that not everyone’s sodium requirements are the same, therefore some recipes may be higher than you’re allowed. Always consult with your doctor for your recommended daily sodium allowance.

I made this yesterday evening and baked it this morning. Oh my goodness I can’t believe how good it is. Thank you so much for the recipe. My husband’s kidneys appreciate this!
Thanks for the reply and review!
Hi Bill
I haven’t made this yet because I have a question. Can you use whole wheat flour or bread flour for this recipe. It worse em I don’t have all purpose flour.
Thanks Renee
Hi Renee, I have not made it with bread flour but, yes you can you can. It should be listed as an alternative in the ingredients? It will have a chewier texture.
Whole wheat flour is not recommended.
Bread was beautiful on outside but seemed like maybe it was not done. Ate it anyway because the crust was so good. Want to try again and use for stuffing.
Try purring a piece of foil over it when it gets brown. Ir will allow more baking time and you can control the “browness”.
Hi there, I have never made bread before so, I was wondering when would I put the garlic and rosemary in? I’m thinking right before I bake it? I’m ready to heat up my Dutch oven, so I’m going to mix it in and then let it rest while my Dutch oven is getting hot. I will let you know!
Just mix it into the dry ingredients and when fully mixed they will be well distributed.
This sounds perfect for me, I have stage 4 CKD, does the dutch oven need to be oiled or sprayed, I also have never made bread before, so I don’t want it to stick.
Thanks Jill, I have not sprayed my Dutch oven and it has come out fine.
Hi Bill, I baked this yesterday and it was delicious. We ate half the loaf. I put the other half in refrigerator. Now how do YOU reheat your bread for day 2. Thanks, Mary
Hey Mary, I don’t think I’ve ever really reheated it before. I use it for sandwiches, dipping, or soup bread after that first bake. I’ve also make toast with it too, add some strawberry jam, YUM! Might try 10-15 seconds in the microwave? I would be worried that the oven would dry it out to much if used.
Glad you enjoyed! Bill
Hi Bill, what size Dutch oven do you use? Amazon lists by quarts then gives measurements in inches . Thanks, Mary
Hi Mary, If I remember right, my cast iron is 6qts. and enameled cast iron dutch oven is 7qts. One was a hand me down and the other was on sale respectively. Can’t go wrong with Lodge brand.
So glad to have found your website. Can,t wait to make the bread. Jumping on the low sodium bandwagon beginning March 1st. I will post the results of the bread.
Terrific texture! The recipe was easy and turned out perfectly🙂 I left it for almost 23hours before I baked it- I did add some chopped fresh rosemary and minced garlic. It added a great pop to the bread.
Thank you for including this recipe!
Thanks Lisa, Glad you enjoyed.
Is the vital wheat gluten necessary, could you make this without it?
I’m also guessing the Mrs dash is for flavor and could b omitted, or not?
Thanks
The vital wheat gluten makes for a more airy less dense bread. I would recommend using it. Mrs Dash is for flavor and can be omitted.
I am so happy to have found your website!!
Good job!
Cheryl
Thank you Cheryl!
Bill
Turned out good my 1st try, also the 1st bread I’ve made, nice to eat bread and not loaded with sodium, win, win!
Hi Robert, I really enjoy this bread myself. Making bread for the first time for you? How cool is that!
Thanks for your comment
Bill
I’m unable to locate no sodium baking powder. What can I use for a substitute? Thank you
I use the Hain Featherweight no sodium baking powder, which I find locally at Whole Foods. There is a similar product called Ener-G, though I’ve not used or seen it in the store. If not at a local store both are available online. I’m aware of no other no – low sodium solution otherwise.
Bill
Can you use a crock pot to do this
It appears that you can use a crock pot. I have never made it this way and have no experience baking this way. But it sounds interesting and I will have to give it a try.