
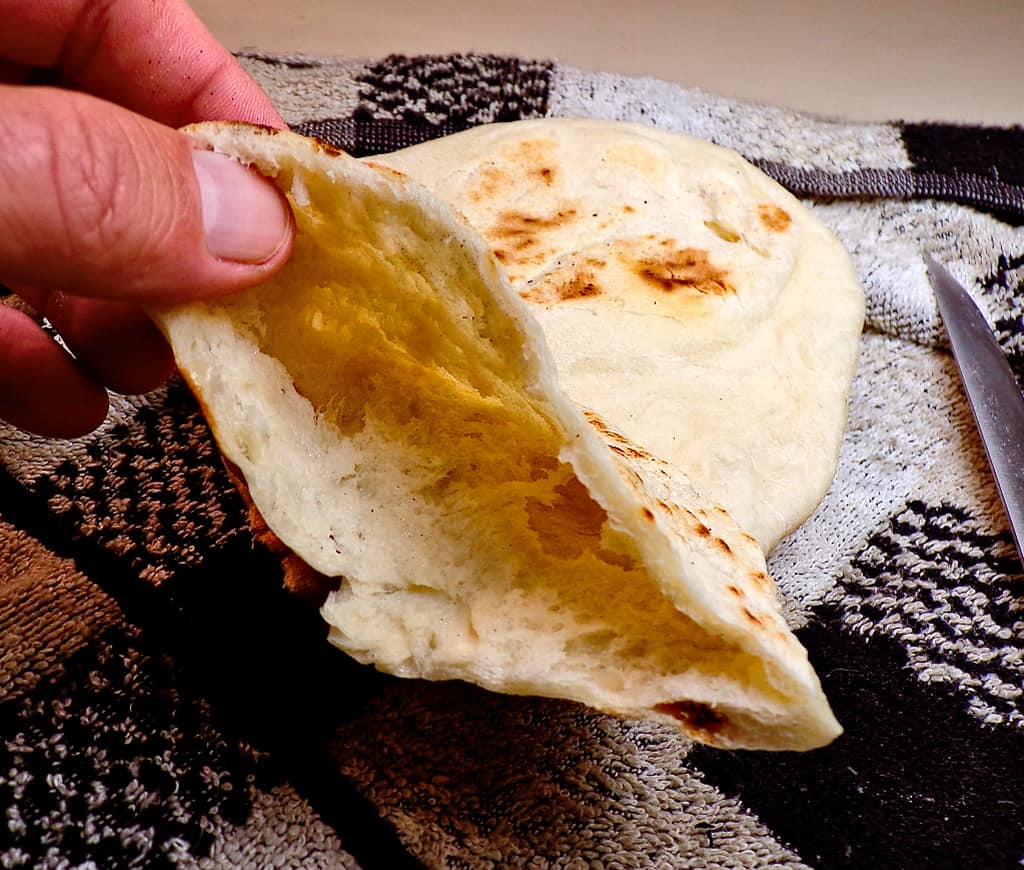
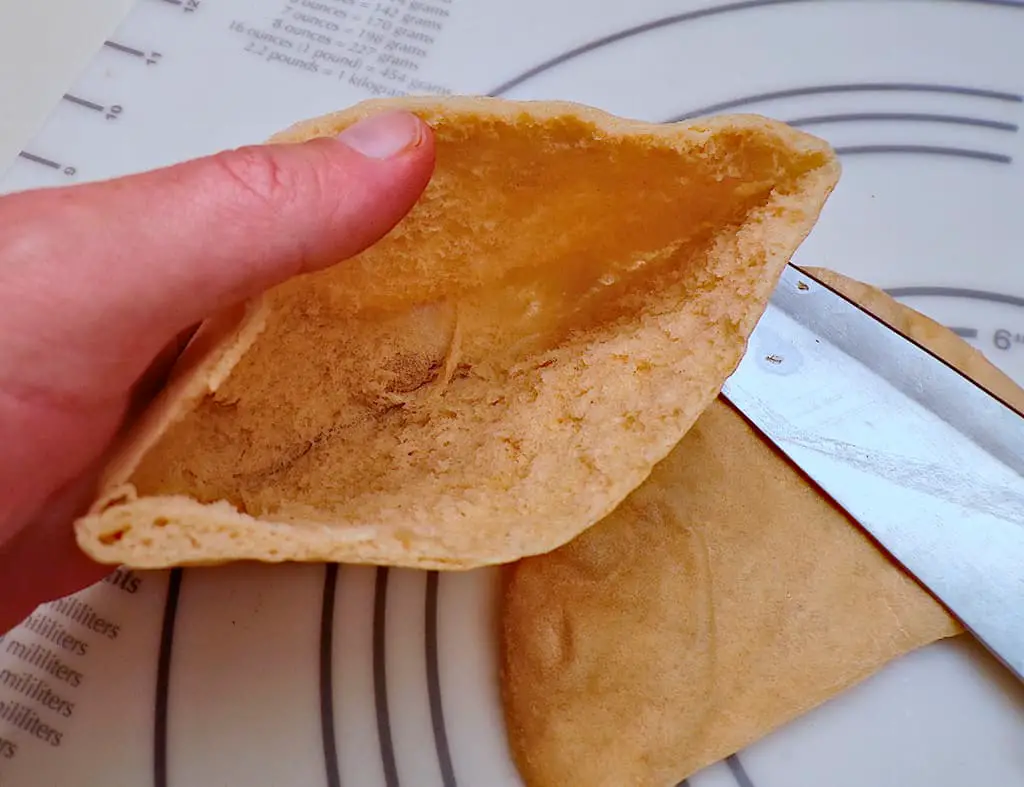
Low Sodium Pita bread is one of those things that may seem hard to achieve but is actually very easy to make. I get a kick out of watching them puff up to form that perfect beautiful pocket inside.

Sodium in pita bread compared
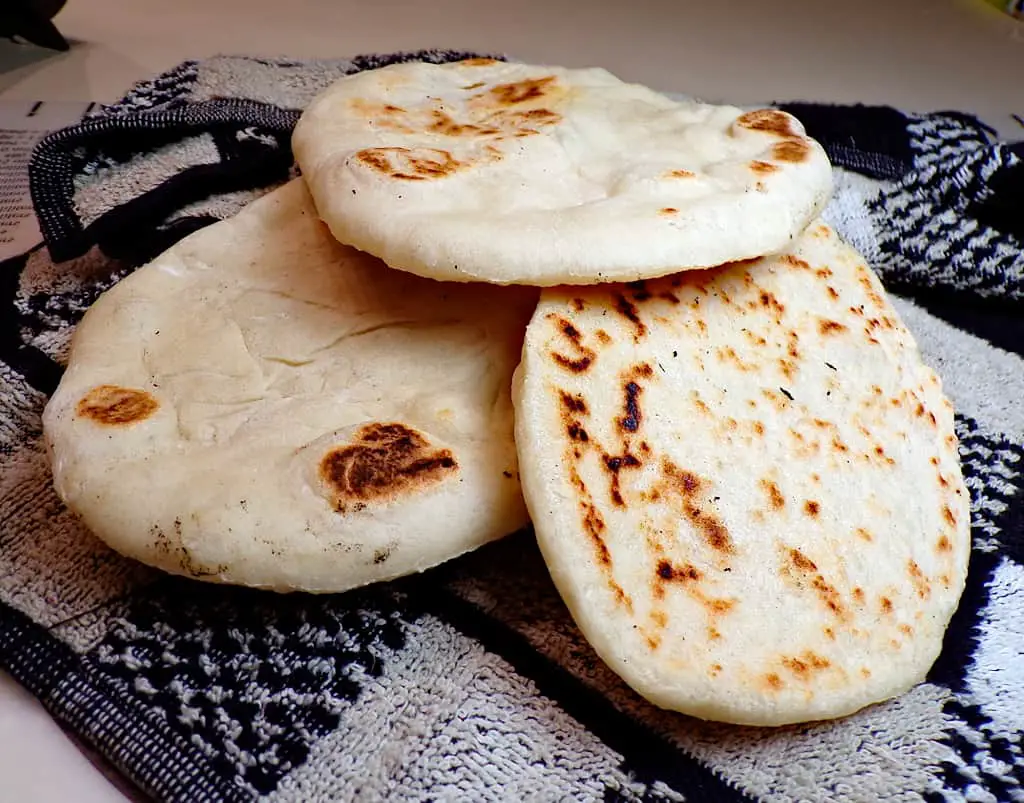
Once again high-sodium ingredients are not needed to bake great bread. I’ve tried mixing up different flours and ways to cook it and I think this turned out the best. It requires very little hands on time but does take some time to rise and “proof”. When baked you have soft, chewy, fluffy pitas that work as well for a great sandwich wrap or chips for dipping into hummus.
| Typical sodium amount per serving | 120+ mg |
| Sodium per serving for this recipe | 2mg |
| Calories per serving | 114 |
| Serving = 1 pita | 1 |
Using a bread machine to make your low-sodium pita dough
I’ve been making a lot of bread since shortly after my stroke as most store-bought bread is incredibly high in sodium. Most store purchased basic breads, which are among the “Salty Six”, can be easily made without salt or high-sodium baking powders and sodas. I had never really made bread before, except once or twice, but on a low-sodium diet, it’s almost a given.
And therefore I find a bread machine is almost essential when making bread weekly or more. Plus, I really think you gain so much more texture, flavor, and freshness from homemade bread it’s worth it. I had always thought you needed an expensive KitchenAid stand mixer to really do it right. But I have since found out in practice that a bread machine is so much better. It can mix up and bake a whole loaf of bread or use it just to mix up the dough, easily and cleanly for half the price of a stand mixer. I am not saying mixers don’t have their place, but for me, it just doesn’t make sense compared to the ease of use of a bread machine.
My tips on making and baking pita bread
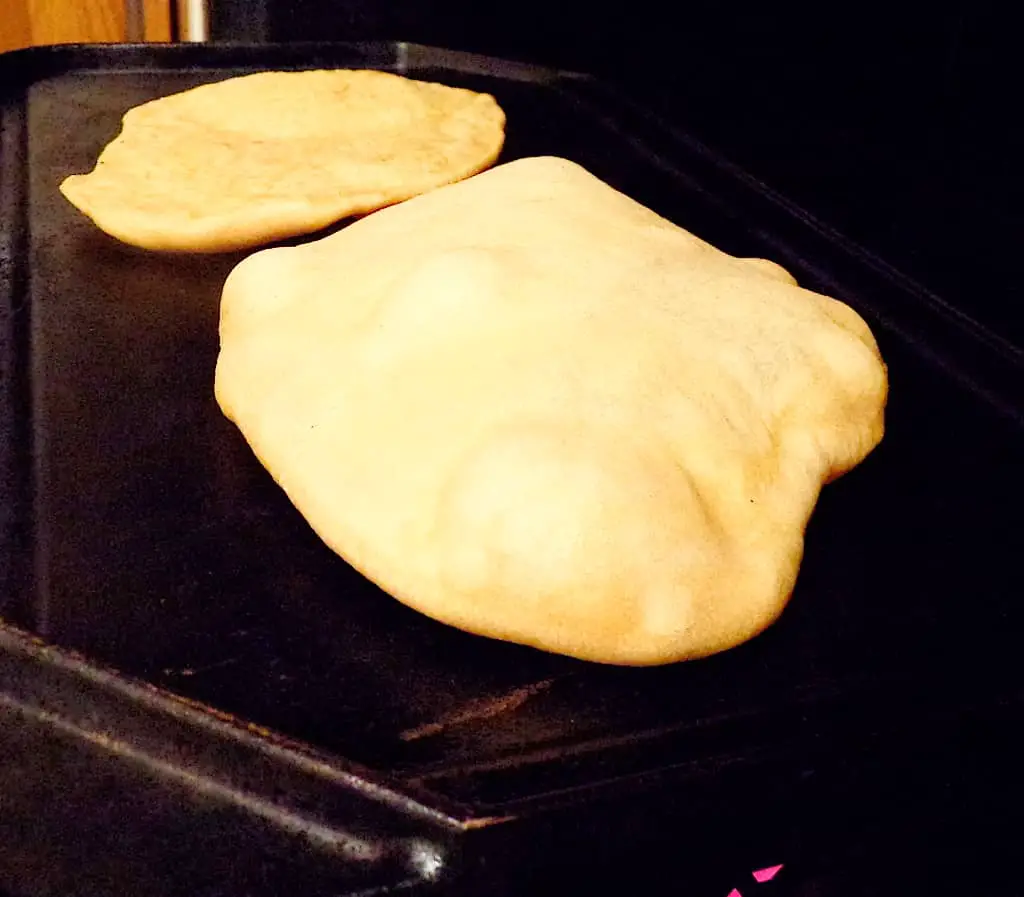
It can be hit or miss to get the “pocket” or ballon effect, where the two sides puff up leaving a hollow middle. I found that the best way to do that was using the griddle in a really hot oven. Even if it doesn’t puff into a pocket, it still tastes great and can be simply used as a wrap or turned into pita crisps for dipping.
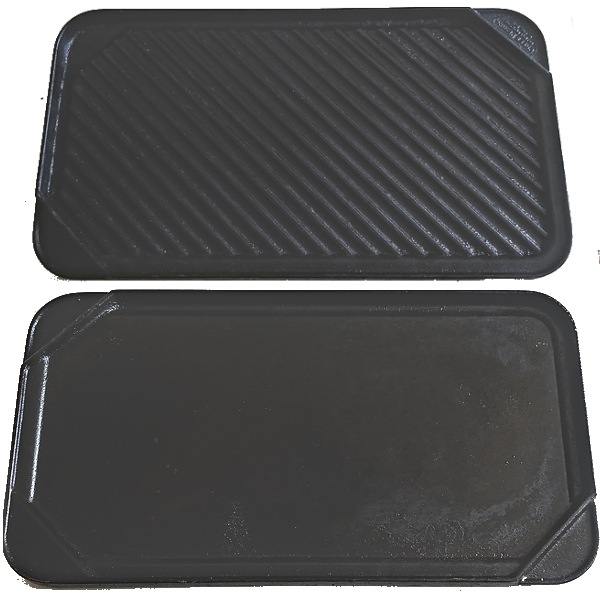
I used my cast iron skillet on the stove and my cast iron griddle (paid link) in the oven. Both did a good job but the griddle, I found to be ideal. Though you don’t get the “toasted marks”, it seemed to cook quicker in the oven and it allowed for cooking 2 or three pitas at a time. This cuts the actual cooking time of the pita down to a third, a big time savings. Using the griddle and oven I was also able to get the pitas to puff more consistently. You could use a baking sheet but the cast iron really collects and holds the heat for a superior pita bake.
You need a hot oven to make the best pita bread
You need a very hot oven for this, so I set mine up to 500° F and let the griddle preheat for 10 minutes after the oven has reached temperature. Since you open it every few minutes letting out heat, you need to keep it as high as possible and work quickly when adding or removing pitas.
What should hopefully make it puff like a balloon is the double action of water turning to steam and the yeast becoming highly reactive when both are hit with the high heat from the oven or stovetop skillet. Also rolling the pita very thin, down to about 1/8”, forces the top and the bottom of the dough to separate and puff outwards making the pocket. Being thin, it does not cook like a pancake and the moisture can move through. For this reason, keep your dough covered as much as possible till cooking to retain moisture.
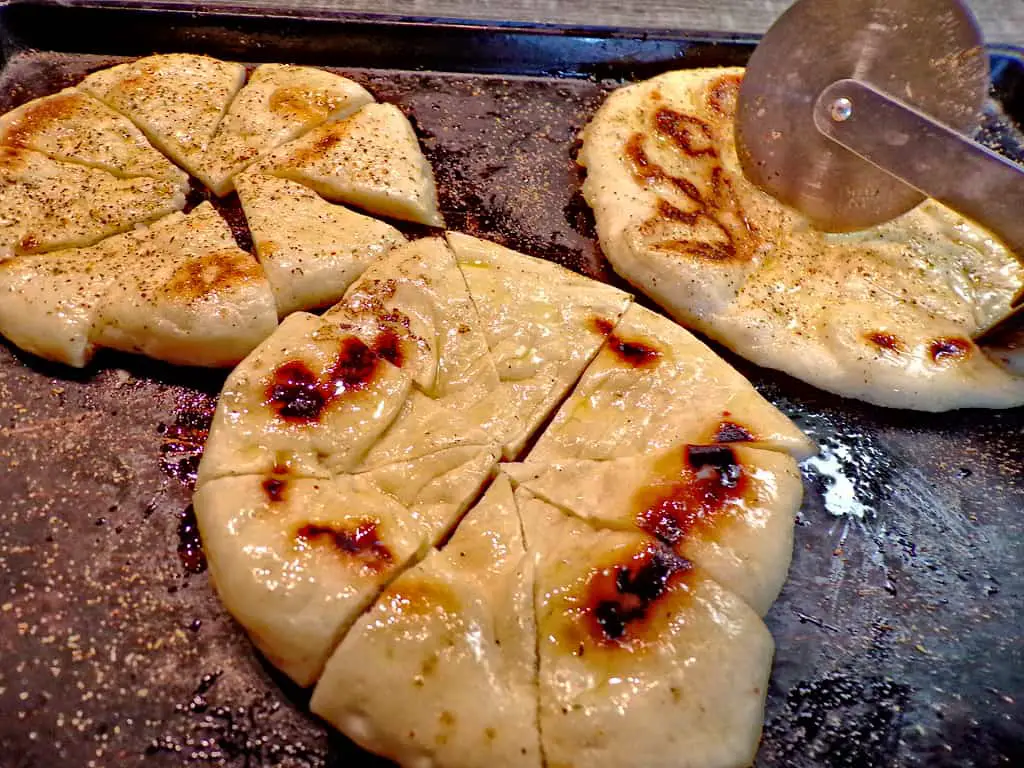
Make homemade baked pita chips
For awesome pita chips to enjoy with some hummus or other dip do the following after you have cooked your pitas. Use the ones that didn’t puff up or turn out well first. There’s usually a couple…..
- Brush both sides with olive oil and sprinkle with either – Mrs. Dash Table Blend, Za’atar spice (paid link), or Italian herb seasoning. (Or your choice of spice, use no sodium spices of course)
- Cut each pita into 8 triangles. (Like a pizza, I like to use a pizza cutter)
- Bake in a preheated 400°F oven for about 5-7 minutes, or until lightly browned and crispy. Watch carefully, as they can burn quickly!
A few recipes to use with pita bread to enjoy!
As always, please let me know how you like this recipe in the comments! I get motivated when I hear from you and am interested to learn about how you liked and served your Low Sodium Pita Bread. And please leave a comment or rating and share any tips you might have.
Low Sodium Pita Bread
Ingredients
- 1 1/4 cups water
- 1 Tbsp olive oil
- 2 cups bread flour
- 1 cup whole wheat flour
- 1 tsp Mrs. Dash Original Table Blend seasoning no salt
- 1 1/2 Tbsp sugar
- 2 tsp Hain’s no sodium baking powder
- 1 tsp Vital Wheat Gluten
- 1 1/2 tsp active dry yeast
- 1 Tbsp unsalted butter
Preparation
- Whisk dry ingredients in a mixing bowl to loosen flour and incorporate.
- Put all ingredients in the bread machine in order; water, oil, dry ingredients, ½ Tbsp butter in each corner and yeast in a small divot in the center.
- Set it on the dough setting.
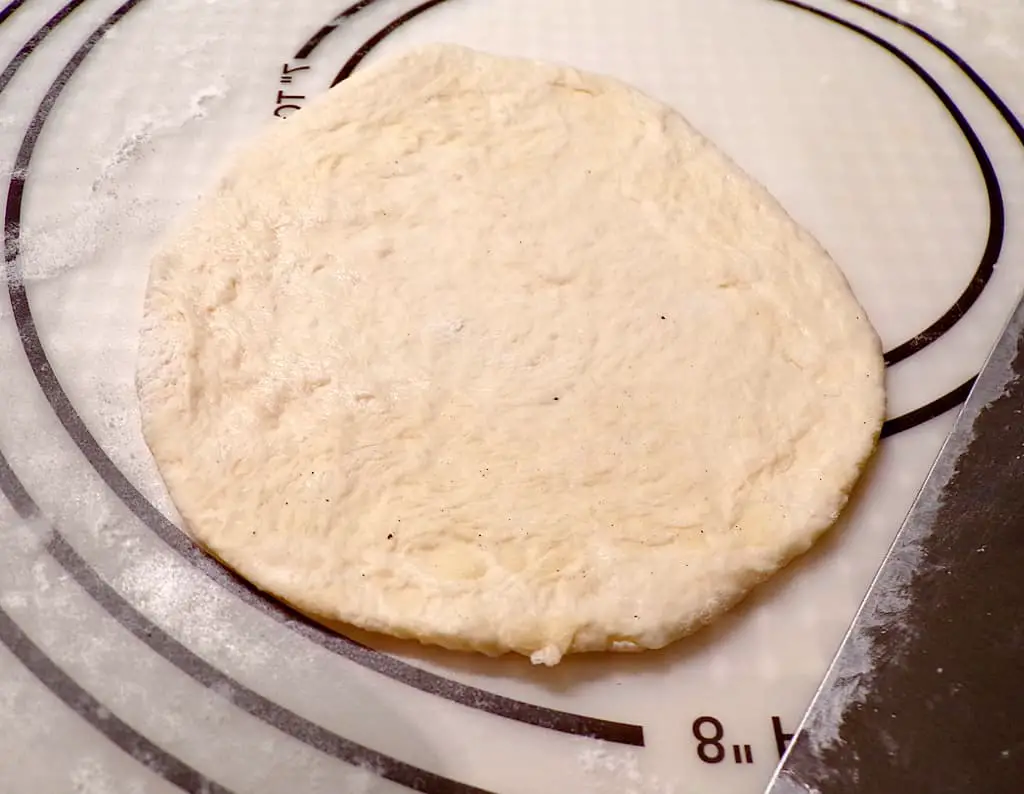
- When the dough is done, cut it into 8 pieces. Form each piece into a ball. Cover the dough for 15-20 minutes, then roll out the pitas.
- On a lightly floured surface, roll each ball into a 6 – 7 inch round, flat circle. Cover and let rise on a lightly floured surface for about 30 – 40 minutes or until they are a little puffy.
- Set a griddle or heavy baking in the oven and preheat the oven to 500 F.
- Bake as many as will fit on the griddle (usually 3), bake the pitas for 3 – 4 minutes or until lightly golden brown.
- After removing from the oven, immediately place the pitas on a plate and cover with a dish towel to soften.
- Once cooled and softened, store in a plastic bag or eat.
For Homemade Baked Pita Chips
- Brush both sides with olive oil and sprinkle with either – Mrs. Dash Table Blend, Za’atar spice (paid link) or Italian herb seasoning. (Or your choice of spice. all no sodium of course)
- Cut each pita into 8 triangles. (Like a pizza, I like to use a pizza cutter)
- Bake in a preheated 400°F oven for about 5-7 minutes, or until lightly browned and crispy. Watch carefully, as they can burn quickly!
Notes
Utensils & special ingredients used

I use, own and recommend these products and ingredients used in this recipe and I may earn commissions from qualifying purchases.
Nutrition
The information shown is an estimate provided by an online nutrition calculator. It should not be considered a substitute for a professional nutritionist’s advice. Please understand that not everyone’s sodium and dietary requirements are the same, therefore some recipes may be higher than you’re allowed.
https://tastyhealthyheartrecipes.com/a-la-cart/baking/low-sodium-pita-bread-homemade/© 2024 Tasty Healthy Heart Recipes


This is s a great pita bread recipe. I add 1/4 teaspoon of Diamond Crystal kosher salt which only adds 280 mgs of sodium. I make 9 pitas so each has an extra 31 mg sodium. . They don’t always puff up a lot, given that I cook them on rimmed baking sheets in the oven at 450 degrees, but I can get maybe 2/3 open. They are delicious. They also make outstanding pita chips which I brush with garlic olive oil and Italian spices, that everyone loves and have no idea they are low sodium. I recalculated the calories and I believe the figure given is for one half of a pita. An entire pita, would be about 225 calories,depending on the exact ingredients you use. I will make this recipe even if I only want the pita chips!
I made the pita bread today. I was surprised how nice they turned out. I made up pita chips. Yummy!
WOnderful recipe – made pizza with it- so, so good and no guilt about sodium!!!